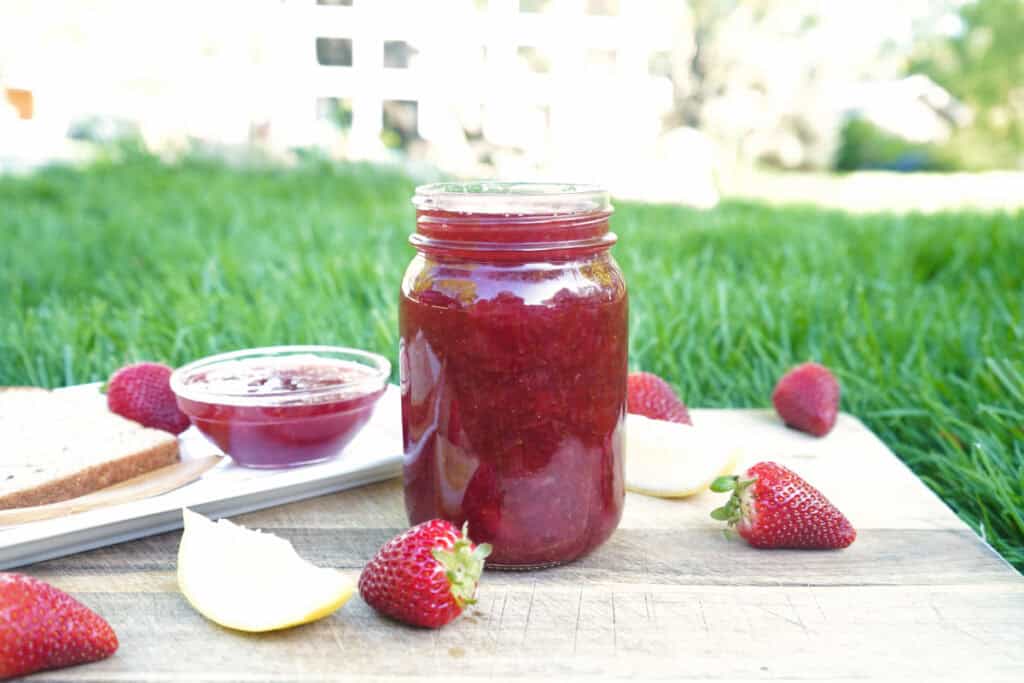
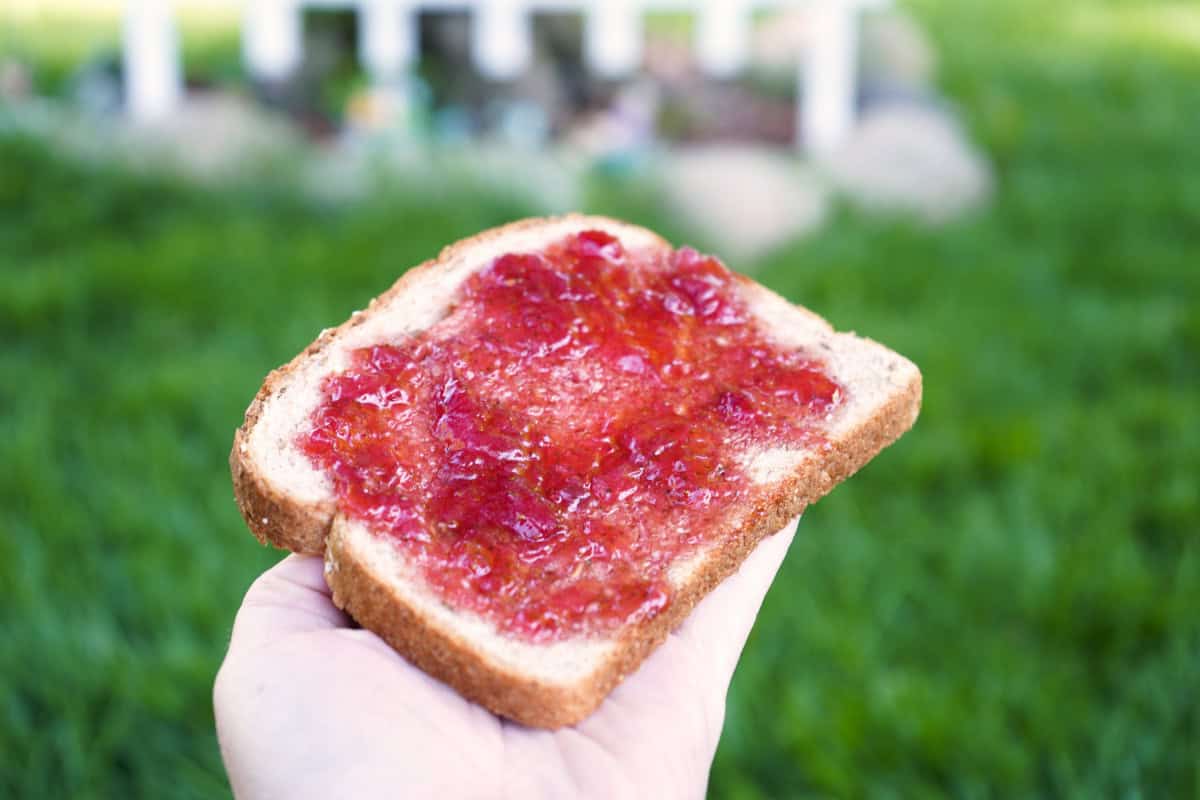
Nothing says summer quite like the sweet aroma of homemade strawberry vanilla jam simmering on the stove. This delightful concoction marries the bright, vibrant flavor of ripe strawberries with the warm, comforting essence of vanilla, creating a spread that’s not just delicious but also incredibly versatile. Perfect for spreading on toast, dolloping on pancakes, or even stirring into yogurt, this jam elevates everyday breakfasts and desserts into something truly special.
The beauty of making your own jam lies in its simplicity; with just a few fresh ingredients and minimal effort, you can capture the essence of summer in a jar. Ready to dive into the art of preserving this seasonal treasure? Let’s explore how to create your own irresistible homemade strawberry vanilla jam that’s bound to be a hit with everyone at your table!

Why I love this Homemade Strawberry Jam with vanilla
- Great recipe for when strawberries are in season and cheap
- I know what ingredients are in the jam (just 4!)
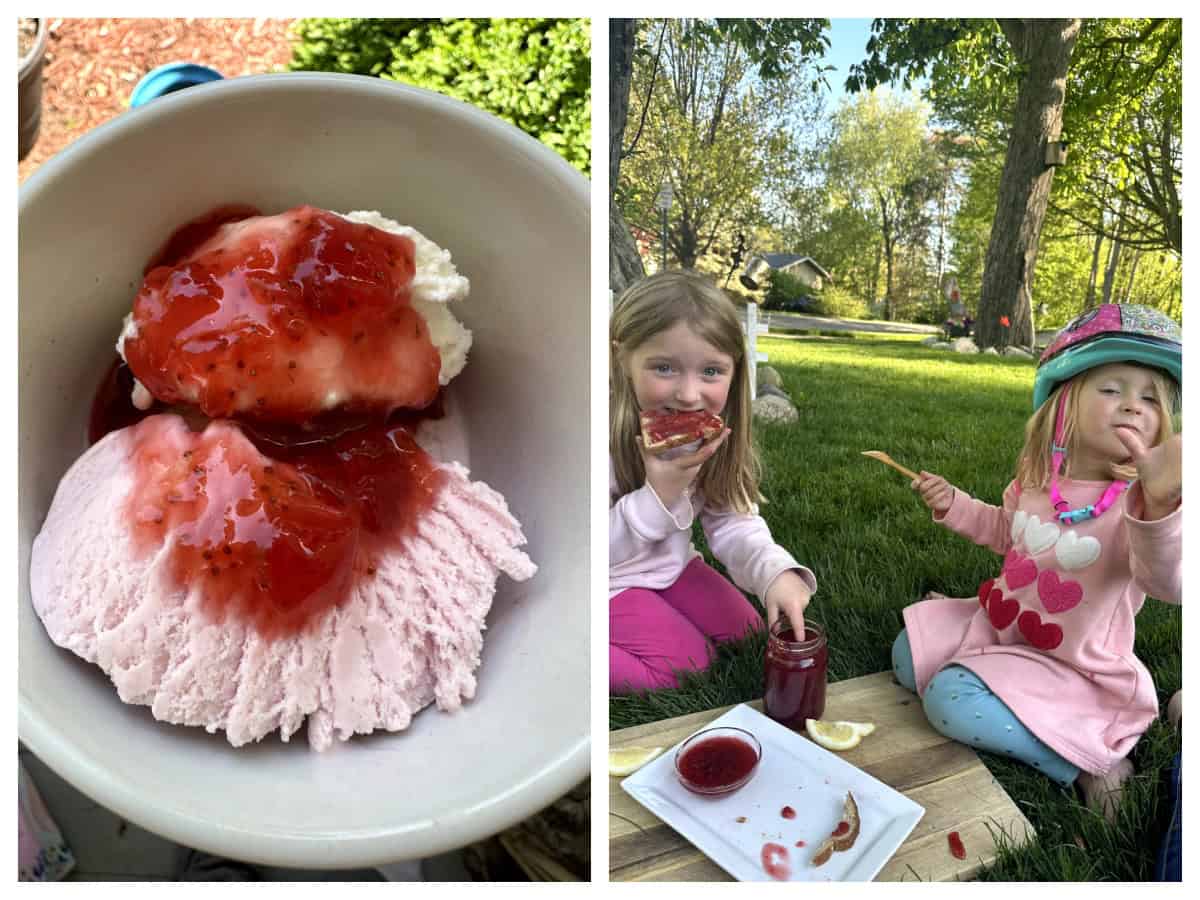
- My kids loved it!
- If the strawberries are in season, you can make about 5-6 small containers for about $8
So if you are looking for what to make with fresh strawberries, this jam recipe may be for you! Our strawberries in Michigan are usually at peak in June so you can either go to the produce stand, farmer’s market, or get a good deal at the grocery store.
The Benefits of Making Your Own Jam
I have been kind of looking more into what is in store bought ingredients…and to be honest it is kind of sad… Tons of stuff you can’t pronounce and additives. Well, I want to make some items that we purchase all the time. Such as coffee creamer, peanut butter, and now jam! I have made apple jelly before and jams that are great for special recipes but I wanted an EVERYDAY jam that we can use on toast and peanut butter and jelly!
Ingredients for Strawberry Vanilla Jam
| 🍓Fresh Strawberries- I used 3 containers of strawberries. 🍓Sugar– I used regular sugar. You need a lot so might as well buy a fresh bag. 🍓Lemon– You will need both the juice and zest from a lemon. So first zest the lemon with a grater or microplane. Then squeeze the juice out of the lemon. 🍓Vanilla – You can skip this if you want, but I think it gives the jam a nice flavor. |
Watch the video below!
Step-by-Step Guide to Making Strawberry Vanilla Jam
Step 1️⃣ Prep the strawberries. I washed mine with baking soda and let them soak for a few minutes. Rinse them and remove from the water. Slice the green tops off and add the strawberries to a stock pot.
Step 2️⃣ Mash the strawberries. I used a potato masher and smashed the strawberries for a few minutes.
Step 3️⃣Add the other ingredients. Add in the sugar, vanilla, lemon zest, and lemon juice. Give everything a stir until well combined.
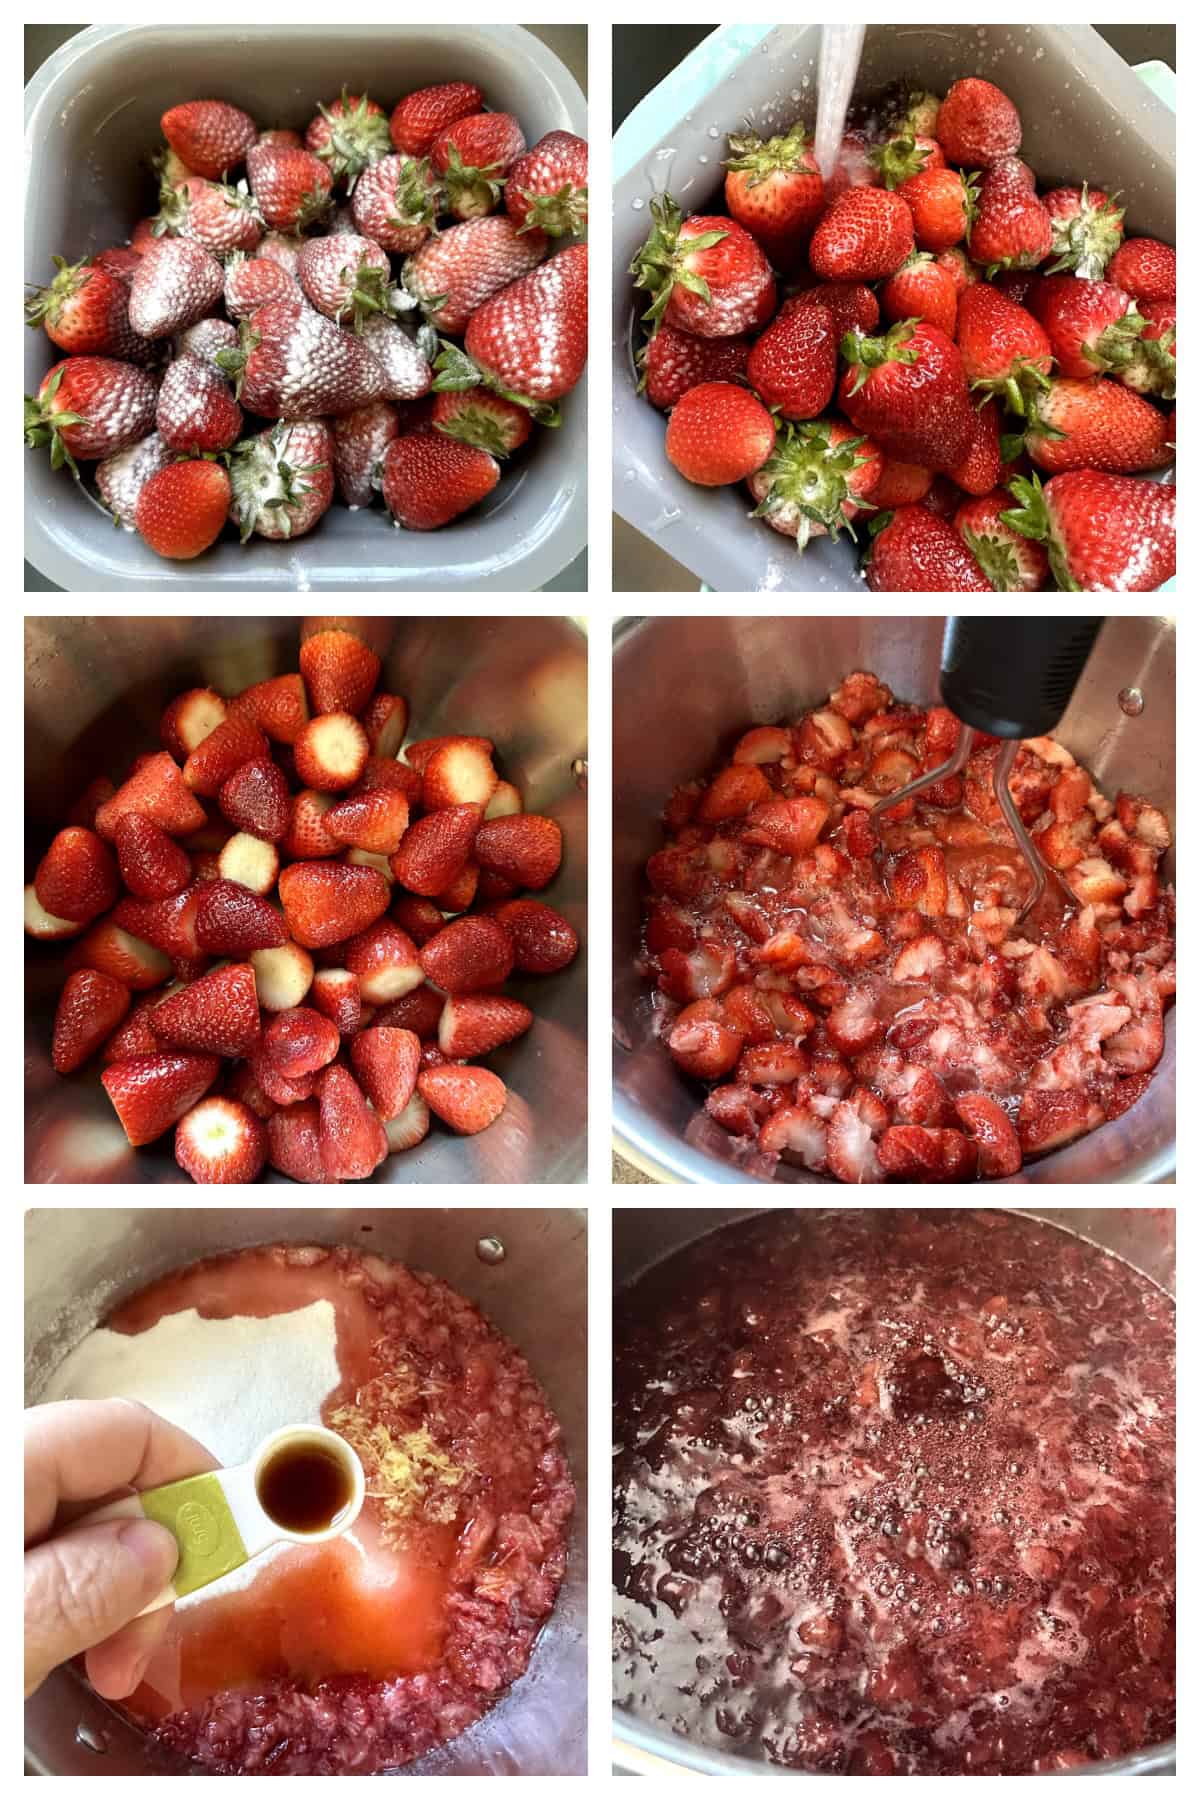
Step 4️⃣ Bring to a boil. Turn the heat on the stove to high and stir until the mixture comes to a rolling boil.
Step 5️⃣ Simmer Down Now. Turn the heat down and let the mixture simmer (low boil) for about 35-40 minutes. Stir often to prevent any burning. Note: I had a hard time keeping my mixture at a low boil so would have to turn it up and down (so you may need to stay by your oven).
Step 6️⃣ Test consistency. When you think the mixture is looking thick enough, test to see if it will hold. You can check this two ways. See below.
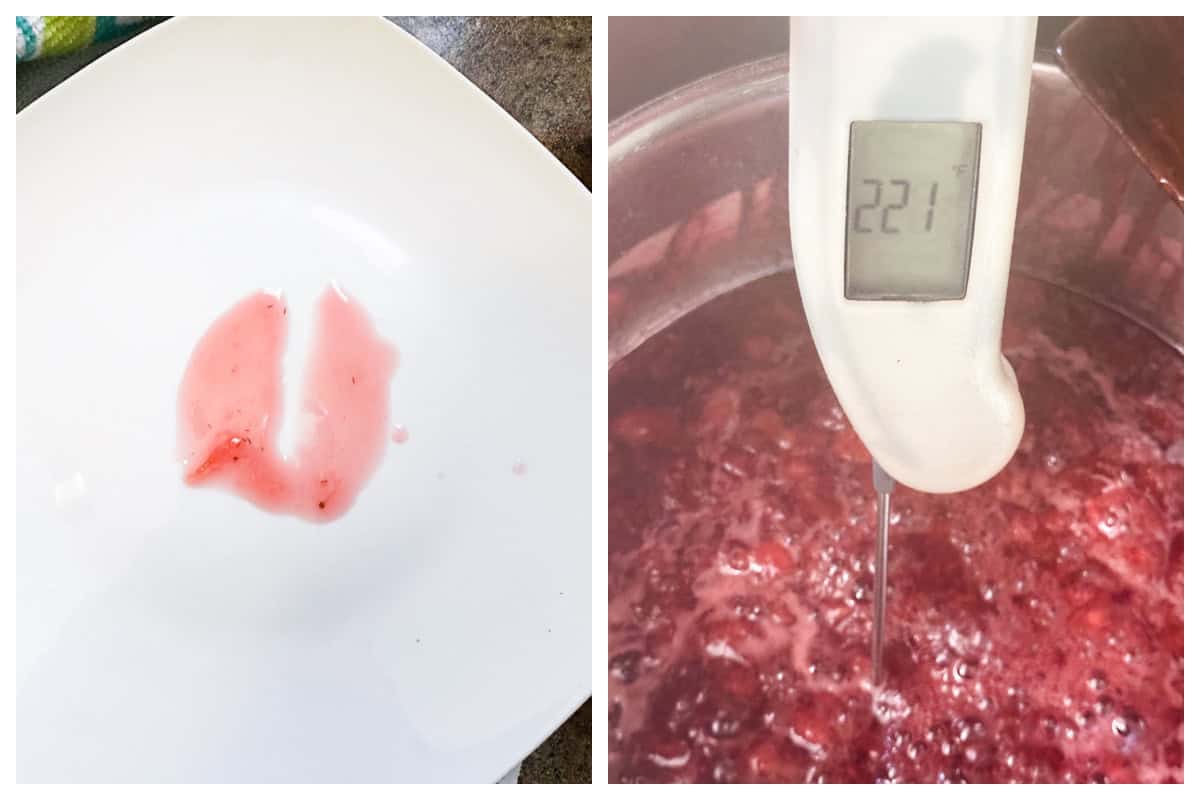
How to check if jam is done?
There are two ways to check if your jam is done cooking. One way is to place a little on a plate and run your finger through it to see if it will stay separated or runs back together. The other way is to use a thermometer and see if the jam temperature reaches 220 degrees F.
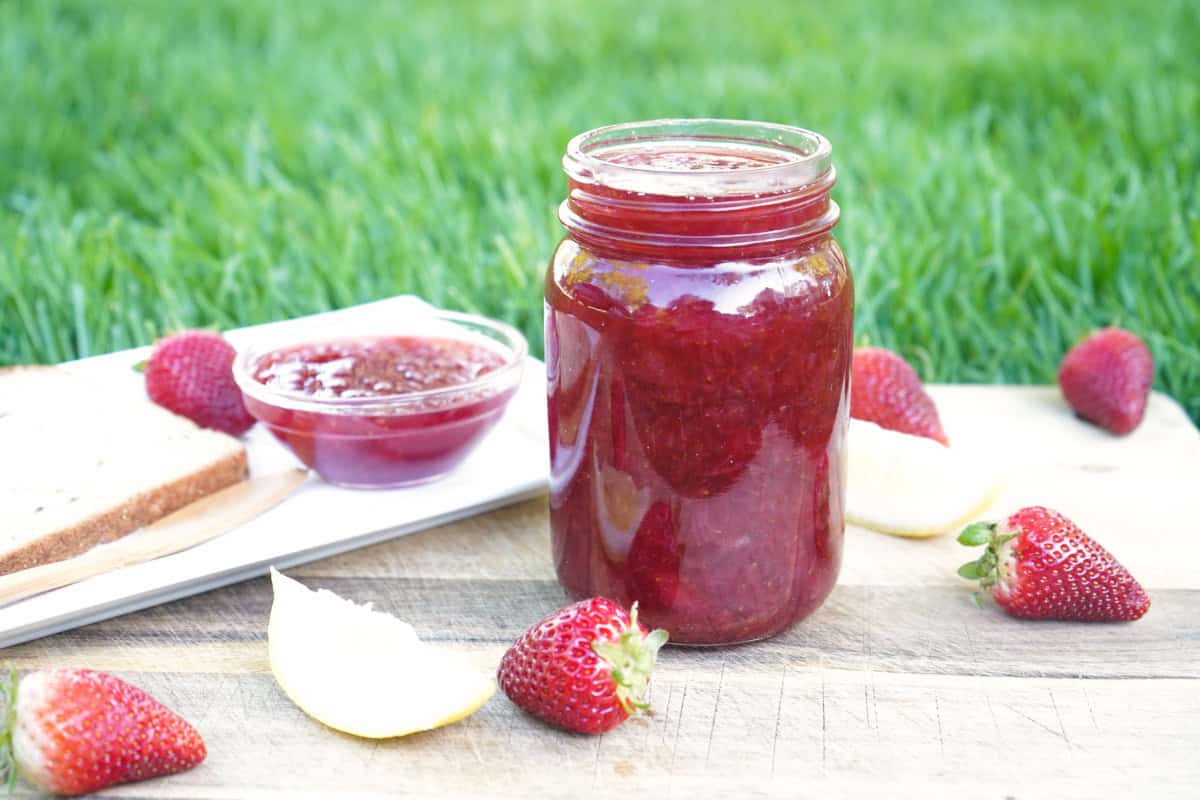
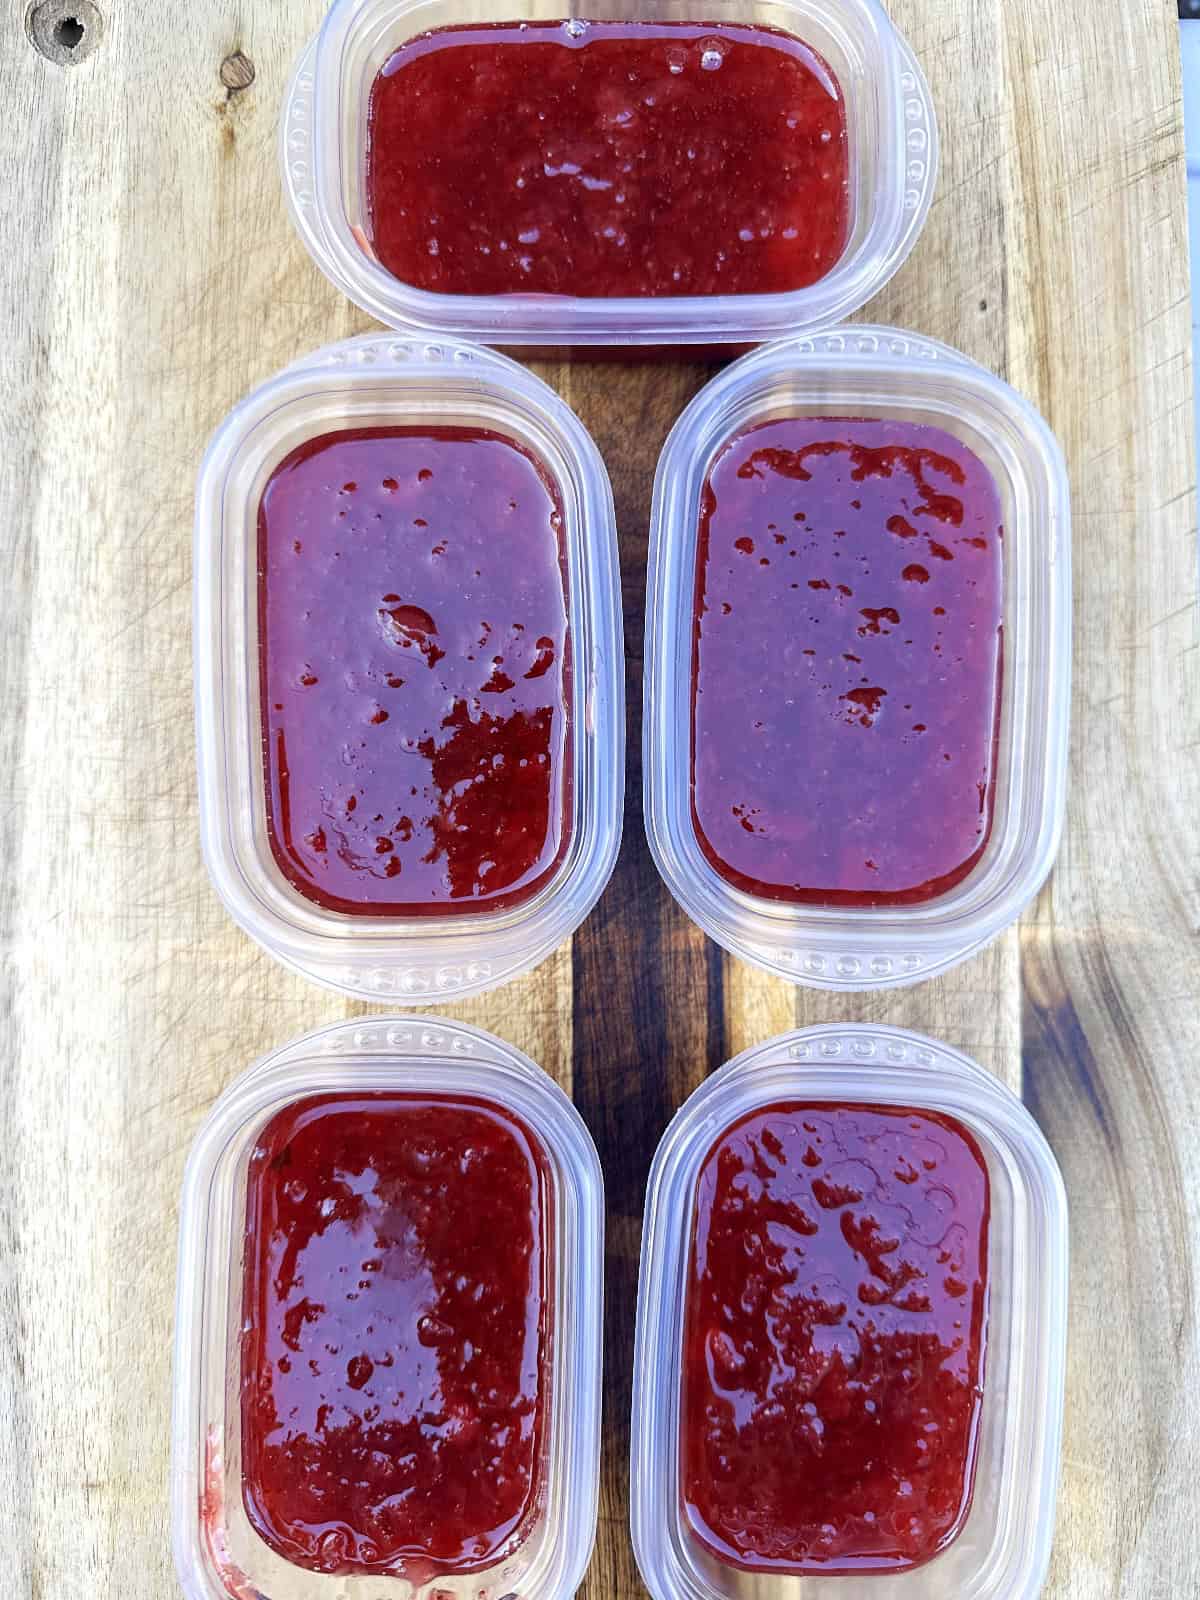
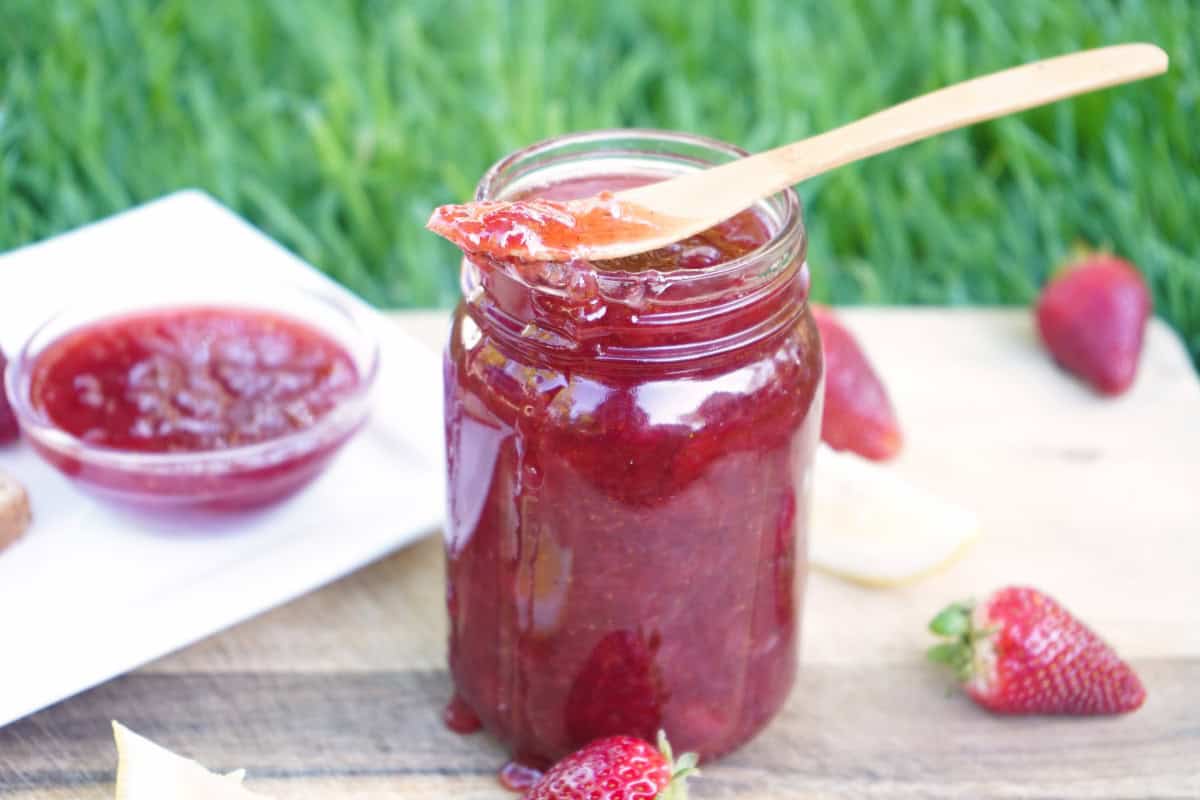
Once the jam is done. Let cool and ladle into either jelly jars or containers of choice. I just bought a little set from Kroger so that I could give away or freeze. These were 8 oz. containers and this recipe yielded 5 containers, so 5 cups of jam.
How to Properly Store Your Homemade Jam
Once the jam was cooled, I place the lids on these containers and left a few in the fridge and place a few in the freezer for future use. This strawberry vanilla jam will be good for up to two weeks in the refrigerator for the best taste and texture. The few that I froze did not completely freeze solid because of the amount of sugar but was still safe to eat.
If you want to process and jar this jam, you can. You would add the hot jam to sterilized mason jars, seal, and process in a water bath.
Common Mistakes to Avoid When Making Jam
- Not letting the mixture cook long enough.
- Overcooking the mixture.
- Reducing the amount of sugar. Yes the sugar content seems like a lot but it is needed to help set up the consistency, the preservation, and allowing the pectin to form.
- Not staying close to watch and stir.
Creative Ways to Use Strawberry Vanilla Jam
Of course you can just use on toast or your classic peanut butter and jelly, or with a fried monte crisco sandwich. BUT this strawberry jam was amazing as a topping to ice cream or straight out of the jar if you ask may kids 🙂 You could also use this as a topping for strawberry shortcake or even on top of some pancakes!
Like this homemade strawberry jam recipe? Make sure to check out my:
- Blackberry Vanilla Bourbon Jam
- How to make Easy Cinnamon Apple Jelly
- Small Batch Raspberry Jalapeno Jam
Make sure to PIN IT!
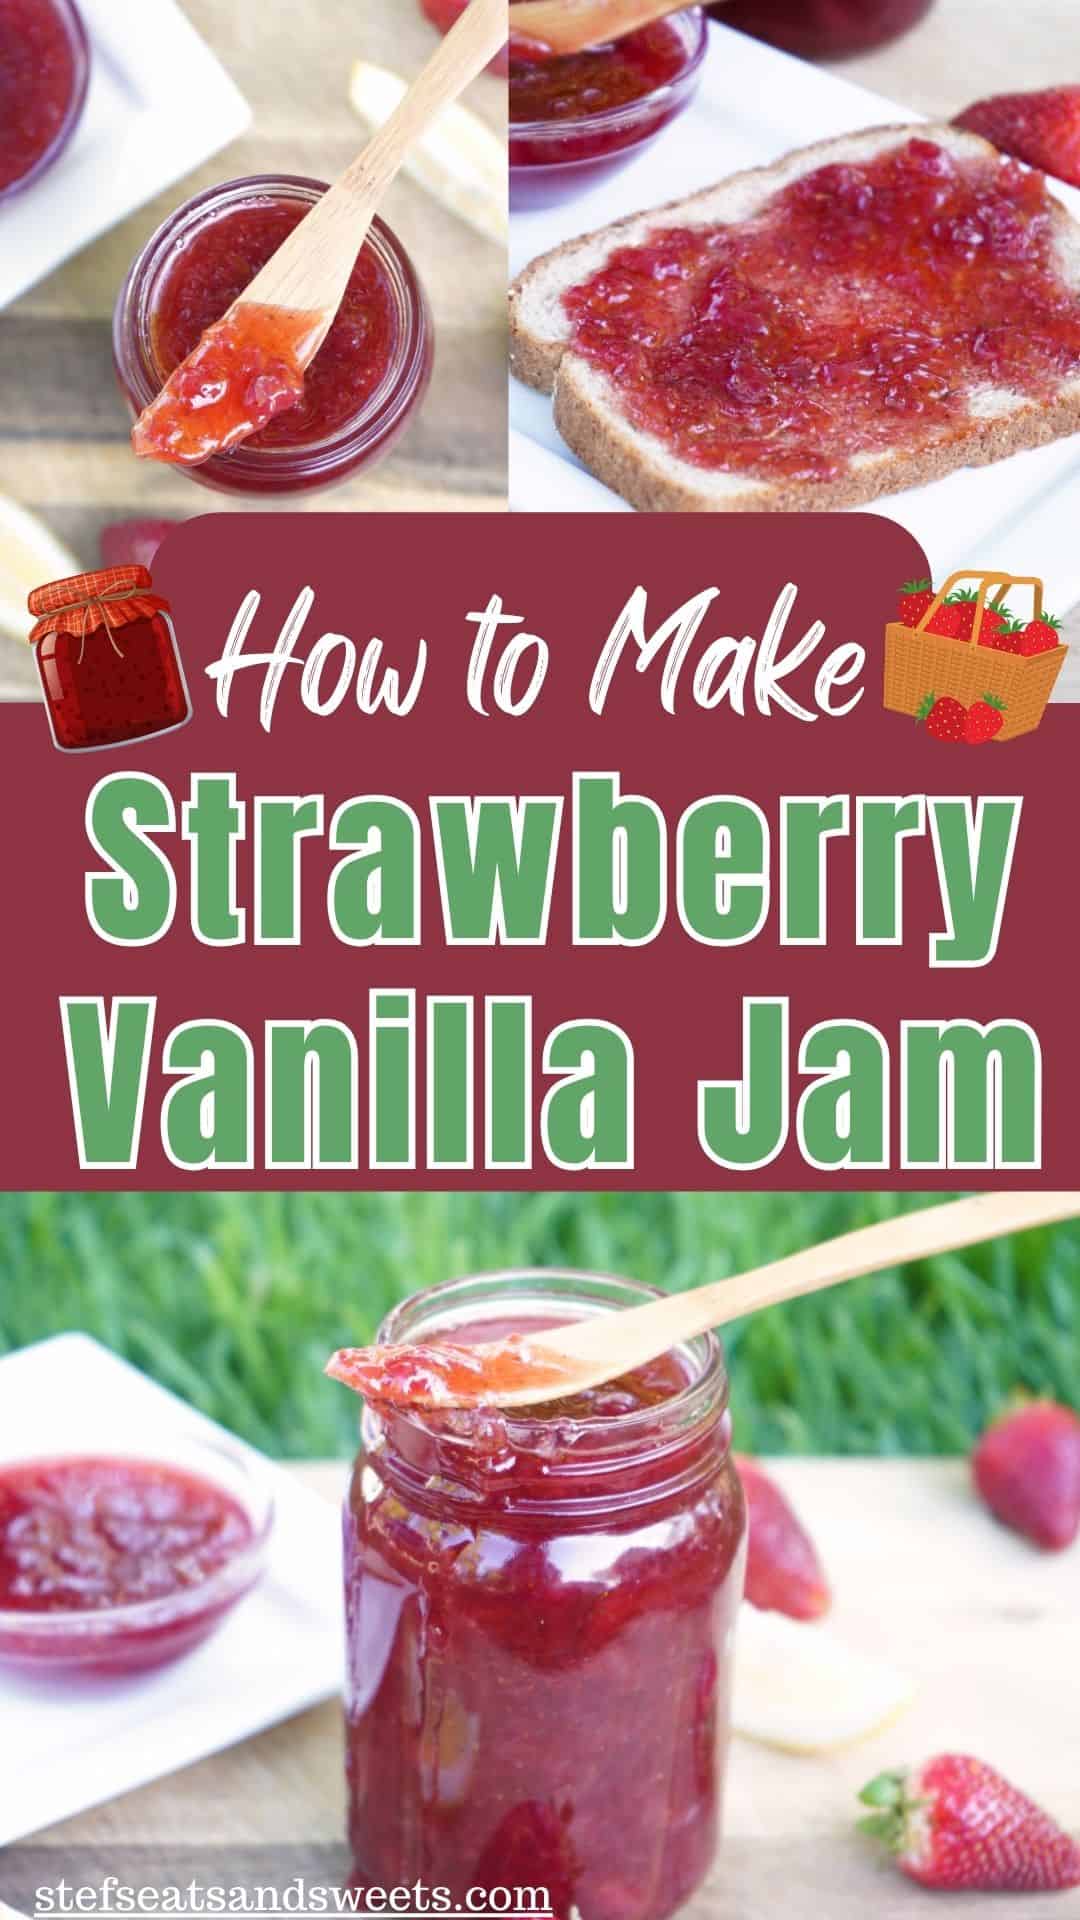

How to Make Strawberry Vanilla Jam
Equipment
- 1 pot
- 1 potato masher
- 1 Knife
- 1 grater or microplane
Materials
- 3 lbs. fresh strawberries 3 containers
- 5 cups sugar
- 2 tsp vanilla extract
- 1 tbsp lemon zest
- 1 lemon juiced
Instructions
- Wash and prep the strawberries. Slice the green tops off and add the strawberries to a stock pot.
- I used a potato masher and smashed the strawberries for a few minutes.
- Add in the sugar, vanilla, lemon zest, and lemon juice. Give everything a stir until well combined.
- Turn the heat on the stove to high and stir until the mixture comes to a rolling boil.
- Turn the heat down and let the mixture simmer (low boil) for about 35-40 minutes. Stir often to prevent any burning. Note: I had a hard time keeping my mixture at a low boil so would have to turn it up and down (so you may need to stay by your oven).
- When you think the mixture is looking thick enough, test to see if it will hold. You can check this two ways. See below.
- One way is to place a little on a plate and run your finger through it to see if it will stay separated or runs back together. The other way is to use a thermometer and see if the jam temperature reaches 220 degrees F.
- If canning- place the hot jam into sterilized jars, seal, and process in a water bath.Otherwise, let cool and ladle into containers or jars of choice. Refrigerate or freeze.
 Pretty Patriotic Parfait Cups
 How to Cook on a Blackstone Grill (or Flat Top)