Looking for a simple unicorn cake design idea? I’ve got you! This unicorn cake is magical, festive, and simple to make. Whether you have been requested to make one for your child for a birthday cake or just want to bake something fun, I will walk you step by step on how to make this easy unicorn cake.
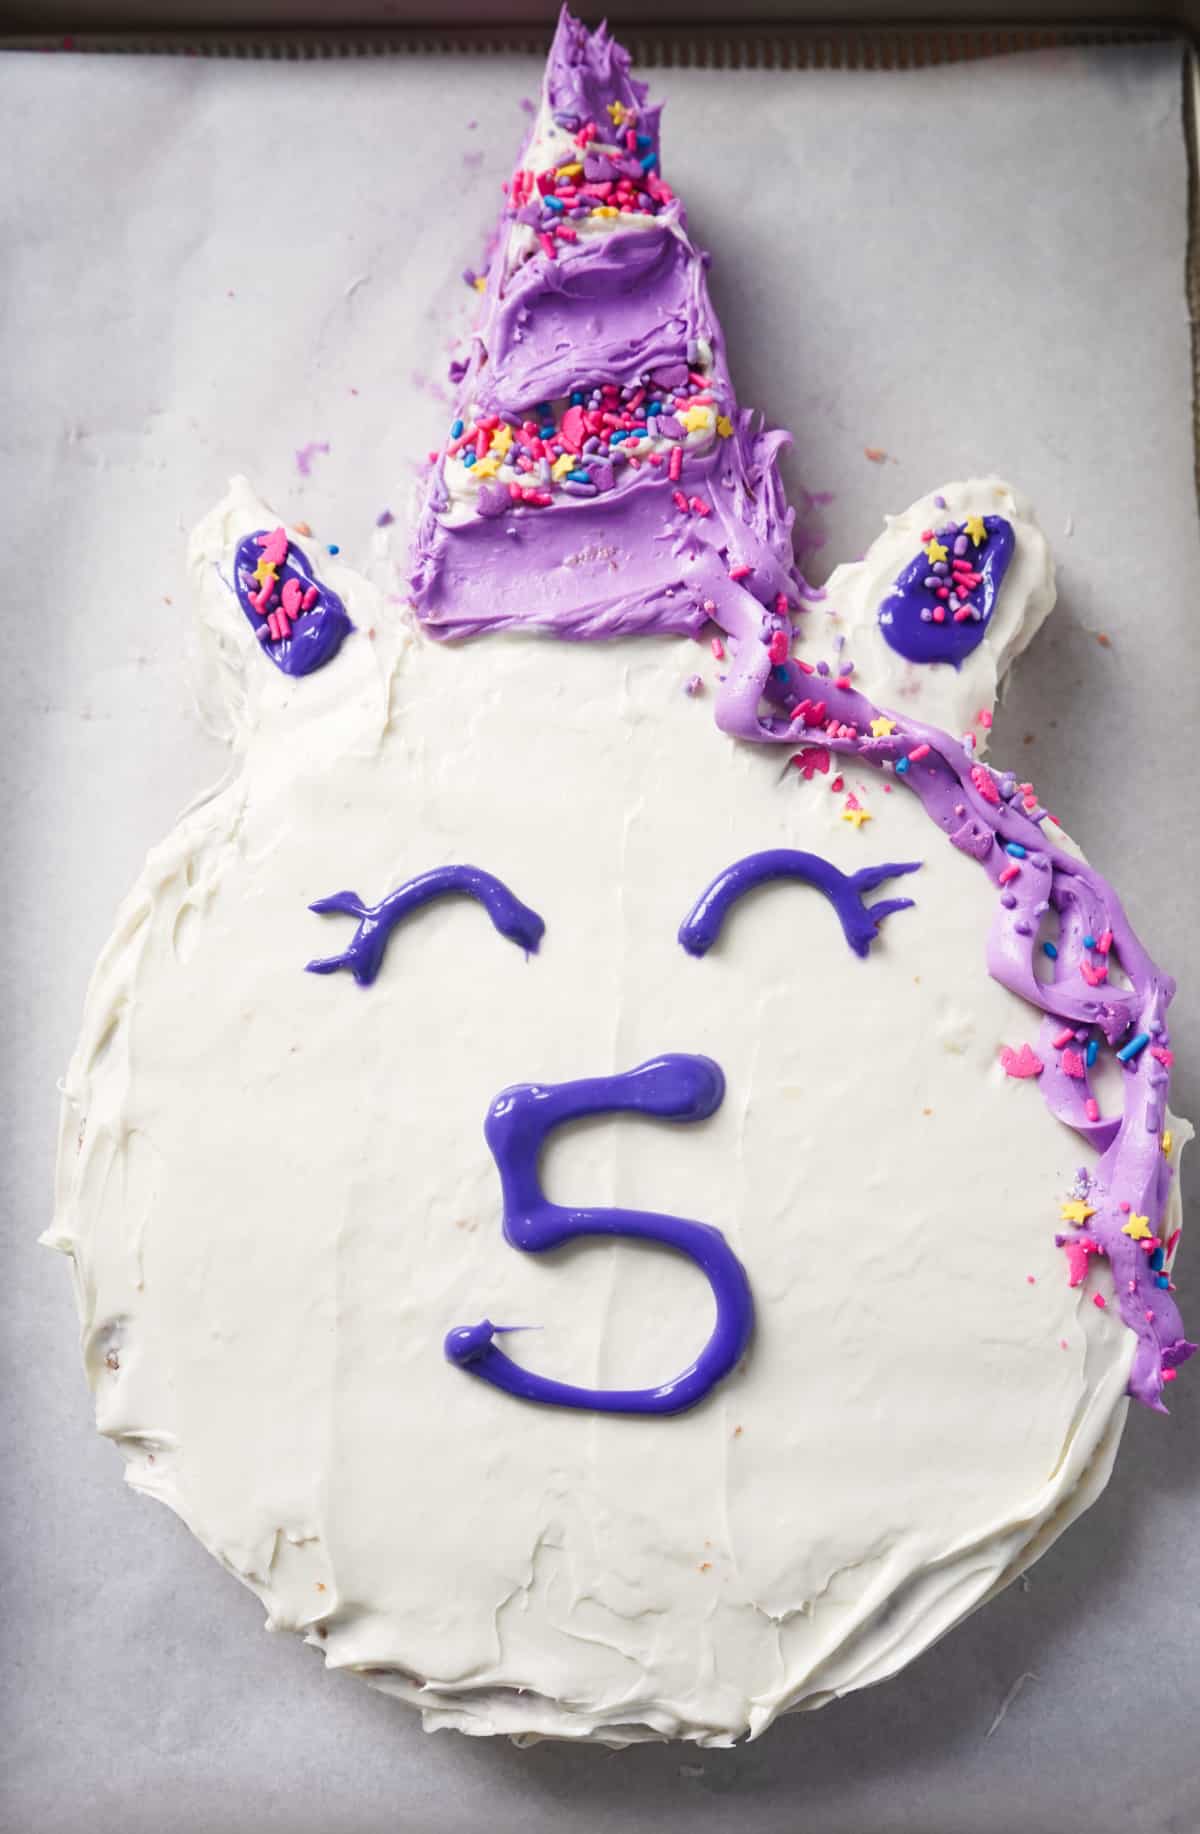
Unicorn cakes have taken the baking world by storm with their magical and whimsical designs that are sure to delight both children and adults alike. From vibrant rainbow colors to shimmering edible glitter, these enchanting creations bring a touch of fantasy to any celebration.
Unicorn Birthday Cake Ideas
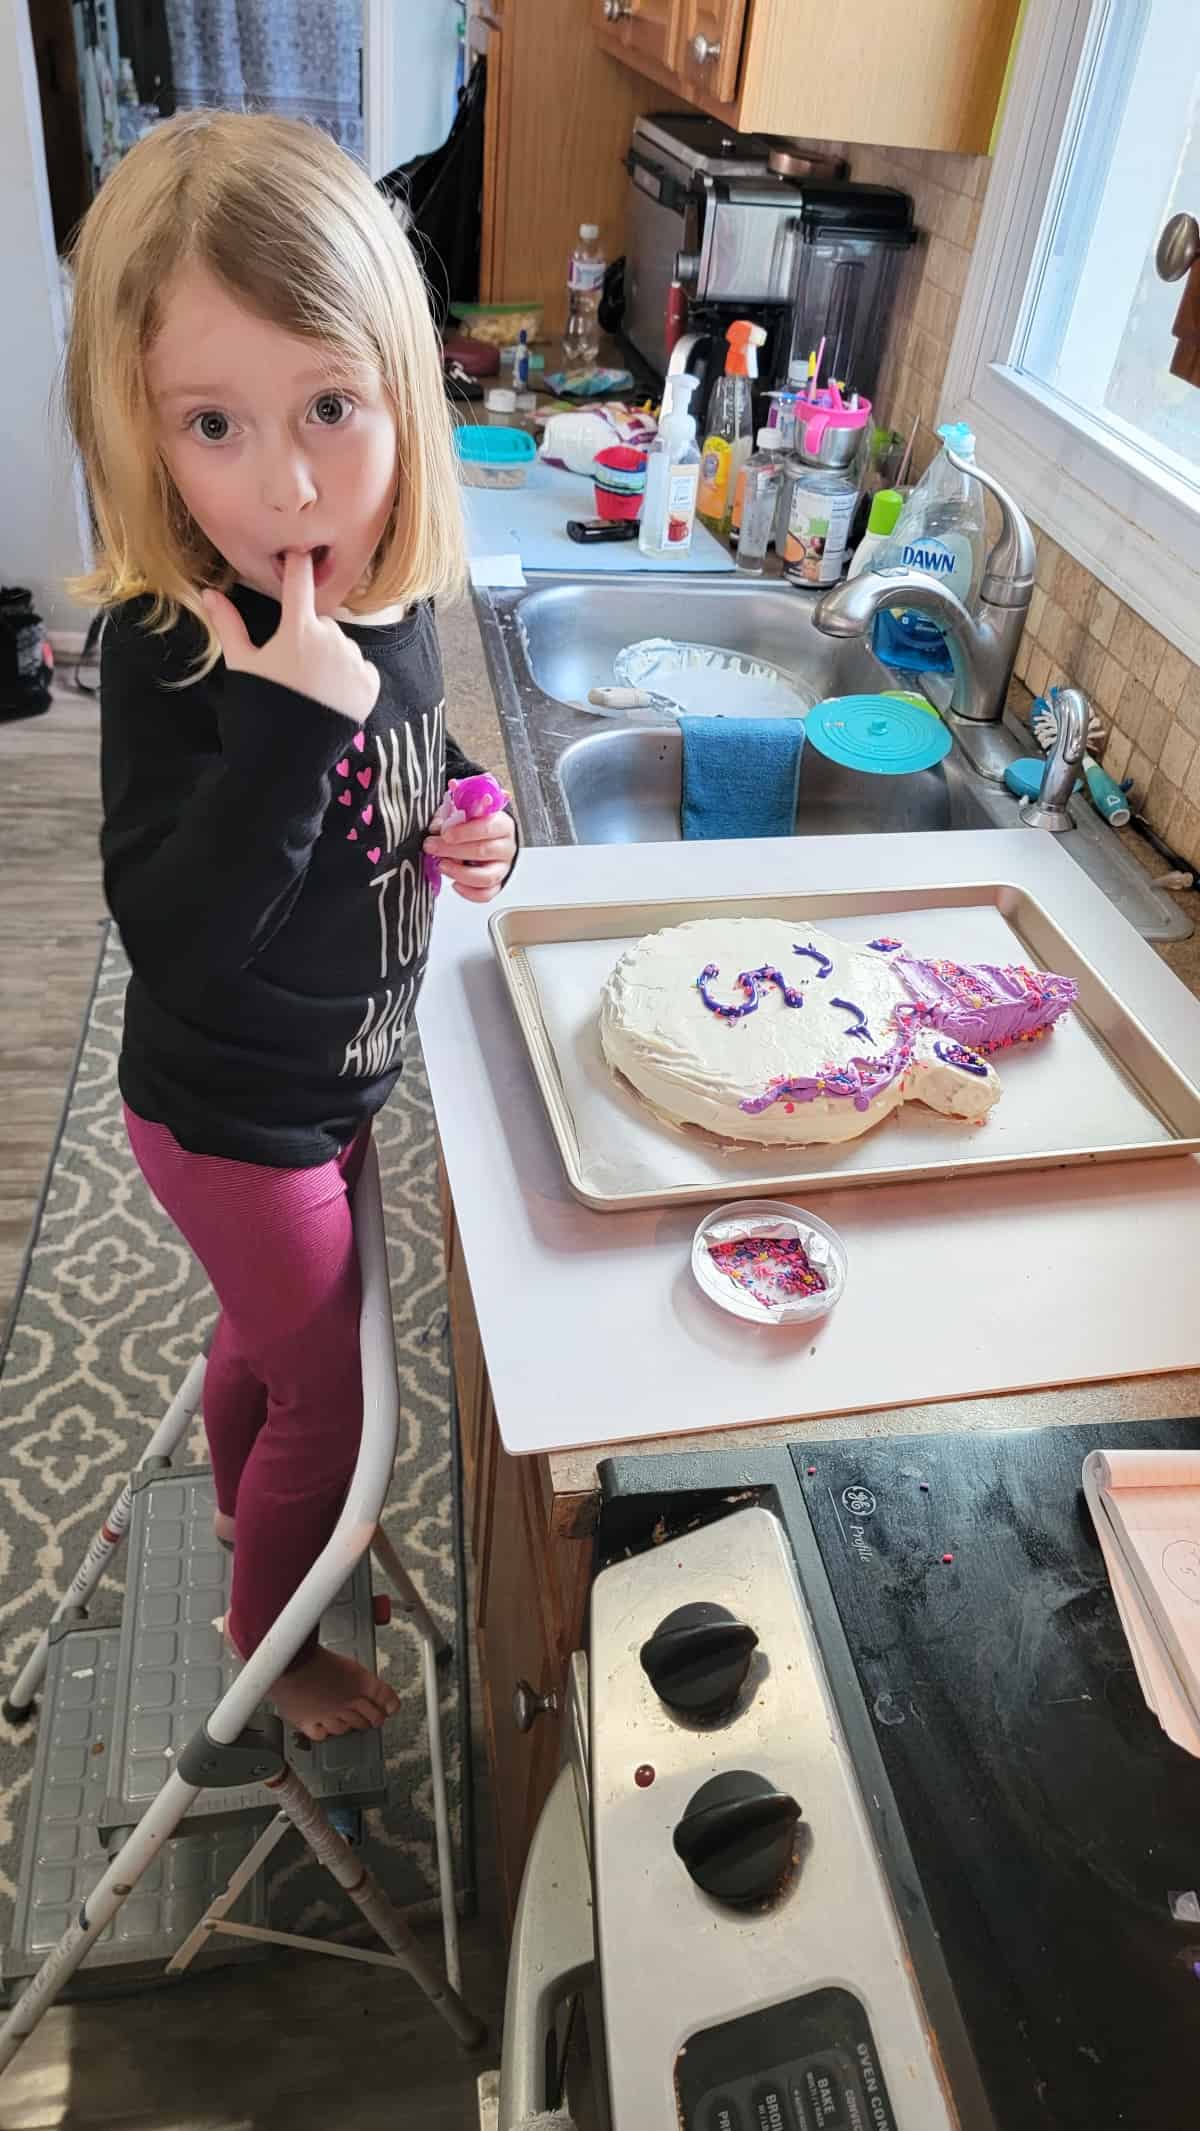
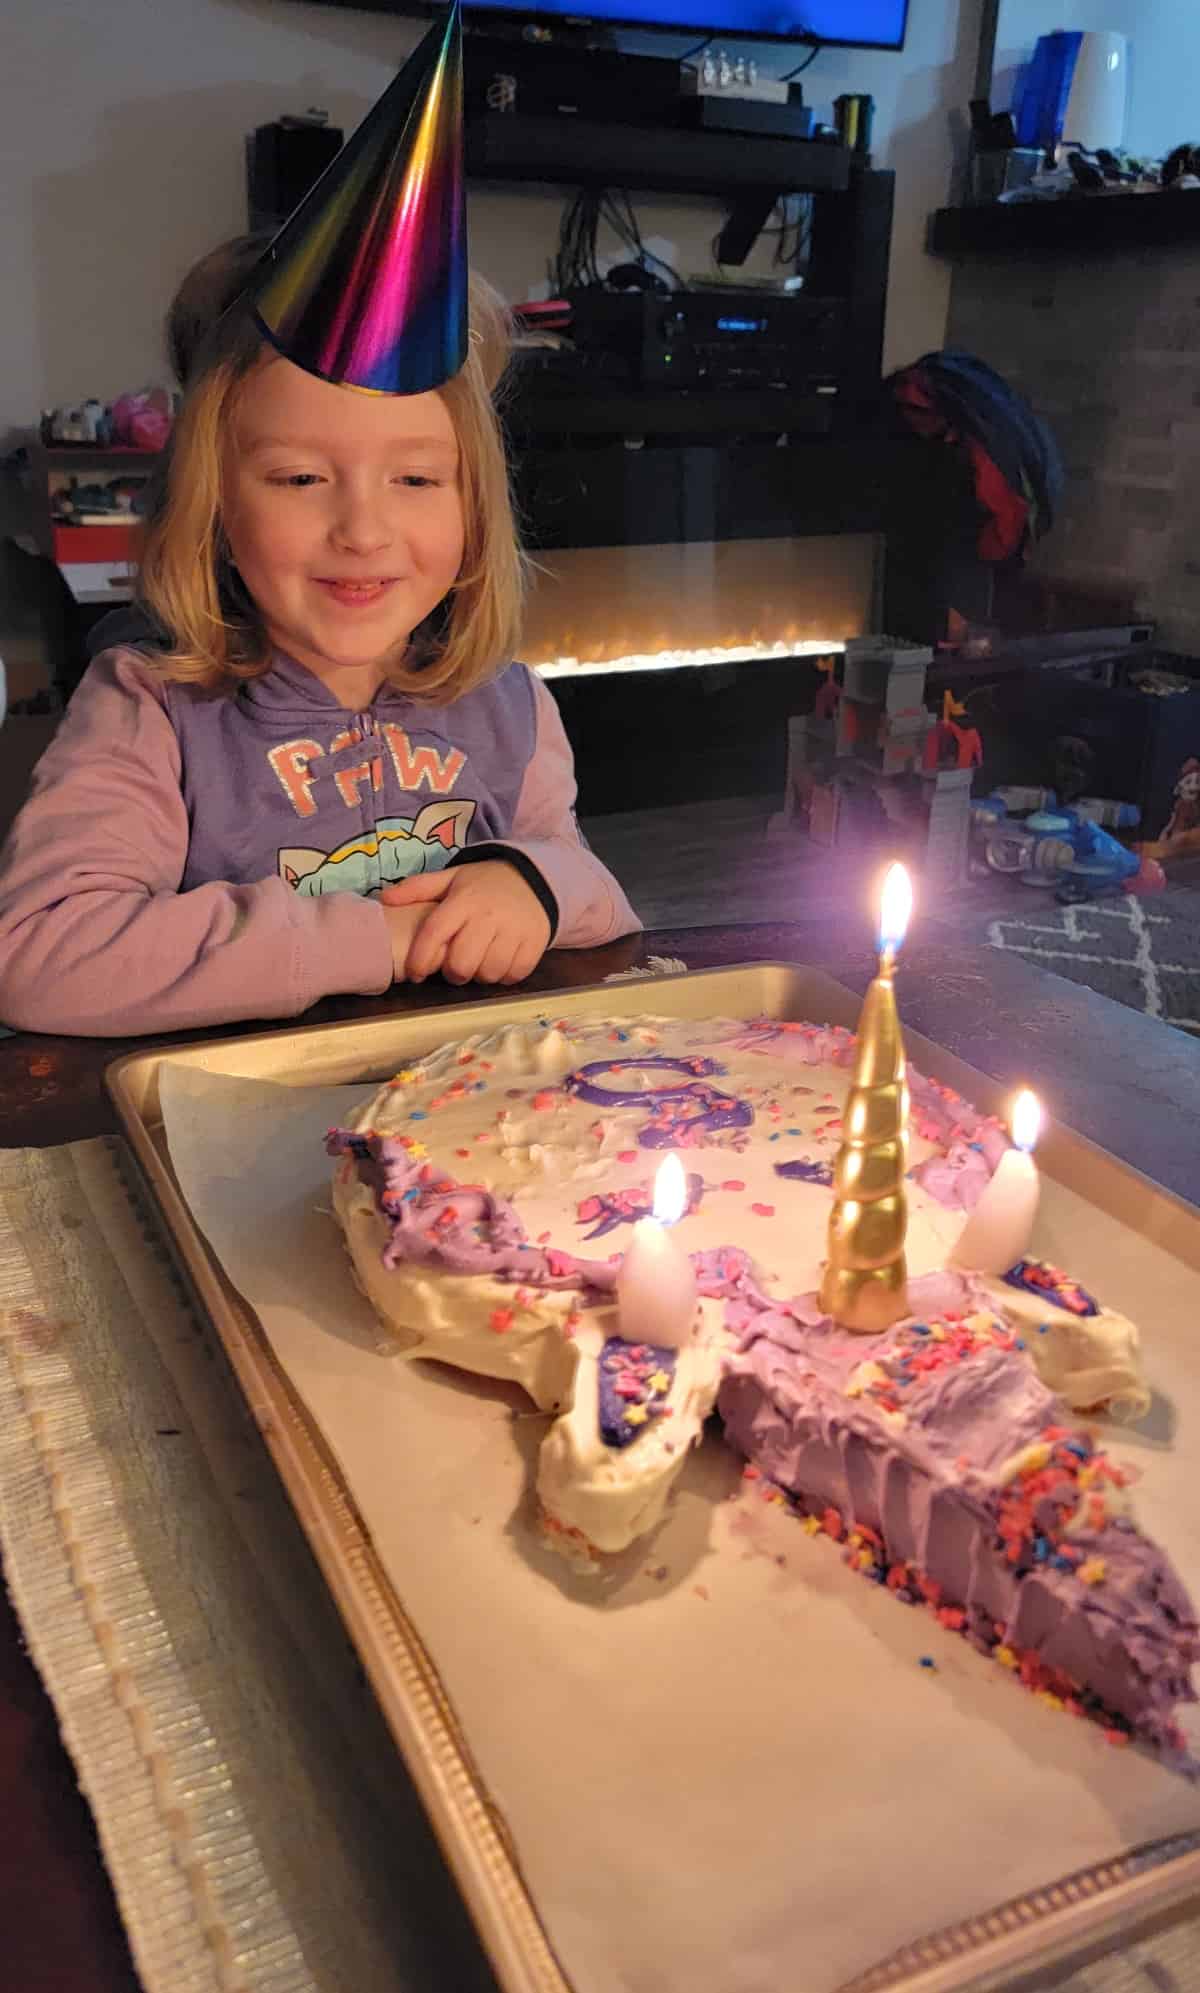
Every year I try to make my daughter a birthday cake that she asks for. Her 2nd birthday she wanted a Cookie Monster Cake, her 3rd birthday I made Peppa Pig cupcakes, for her 4th she requested a crown cake (which I got away with adding a fake crown from the $1 store on top). Well, last year she said “I want a Unicorn Cake”. My first thoughts were…oh boy. Even my husband told me good luck with that- just go buy one. Well, I was on a mission.
I love to bake but I am no means great at designing or things actually turning out. So, to say the least I was impressed with my simple unicorn cake design so I figured I could share with you!
Plan Ahead
Tip #1. Pick color scheme before you go to the store
Make sure to think on the colors you want the frosting and any sprinkles, etc. This will save you time at the store and help not to buy too many items. My daughter loved pink and purple so I stuck with that.
Tip #2. Pick flavors & frosting choices
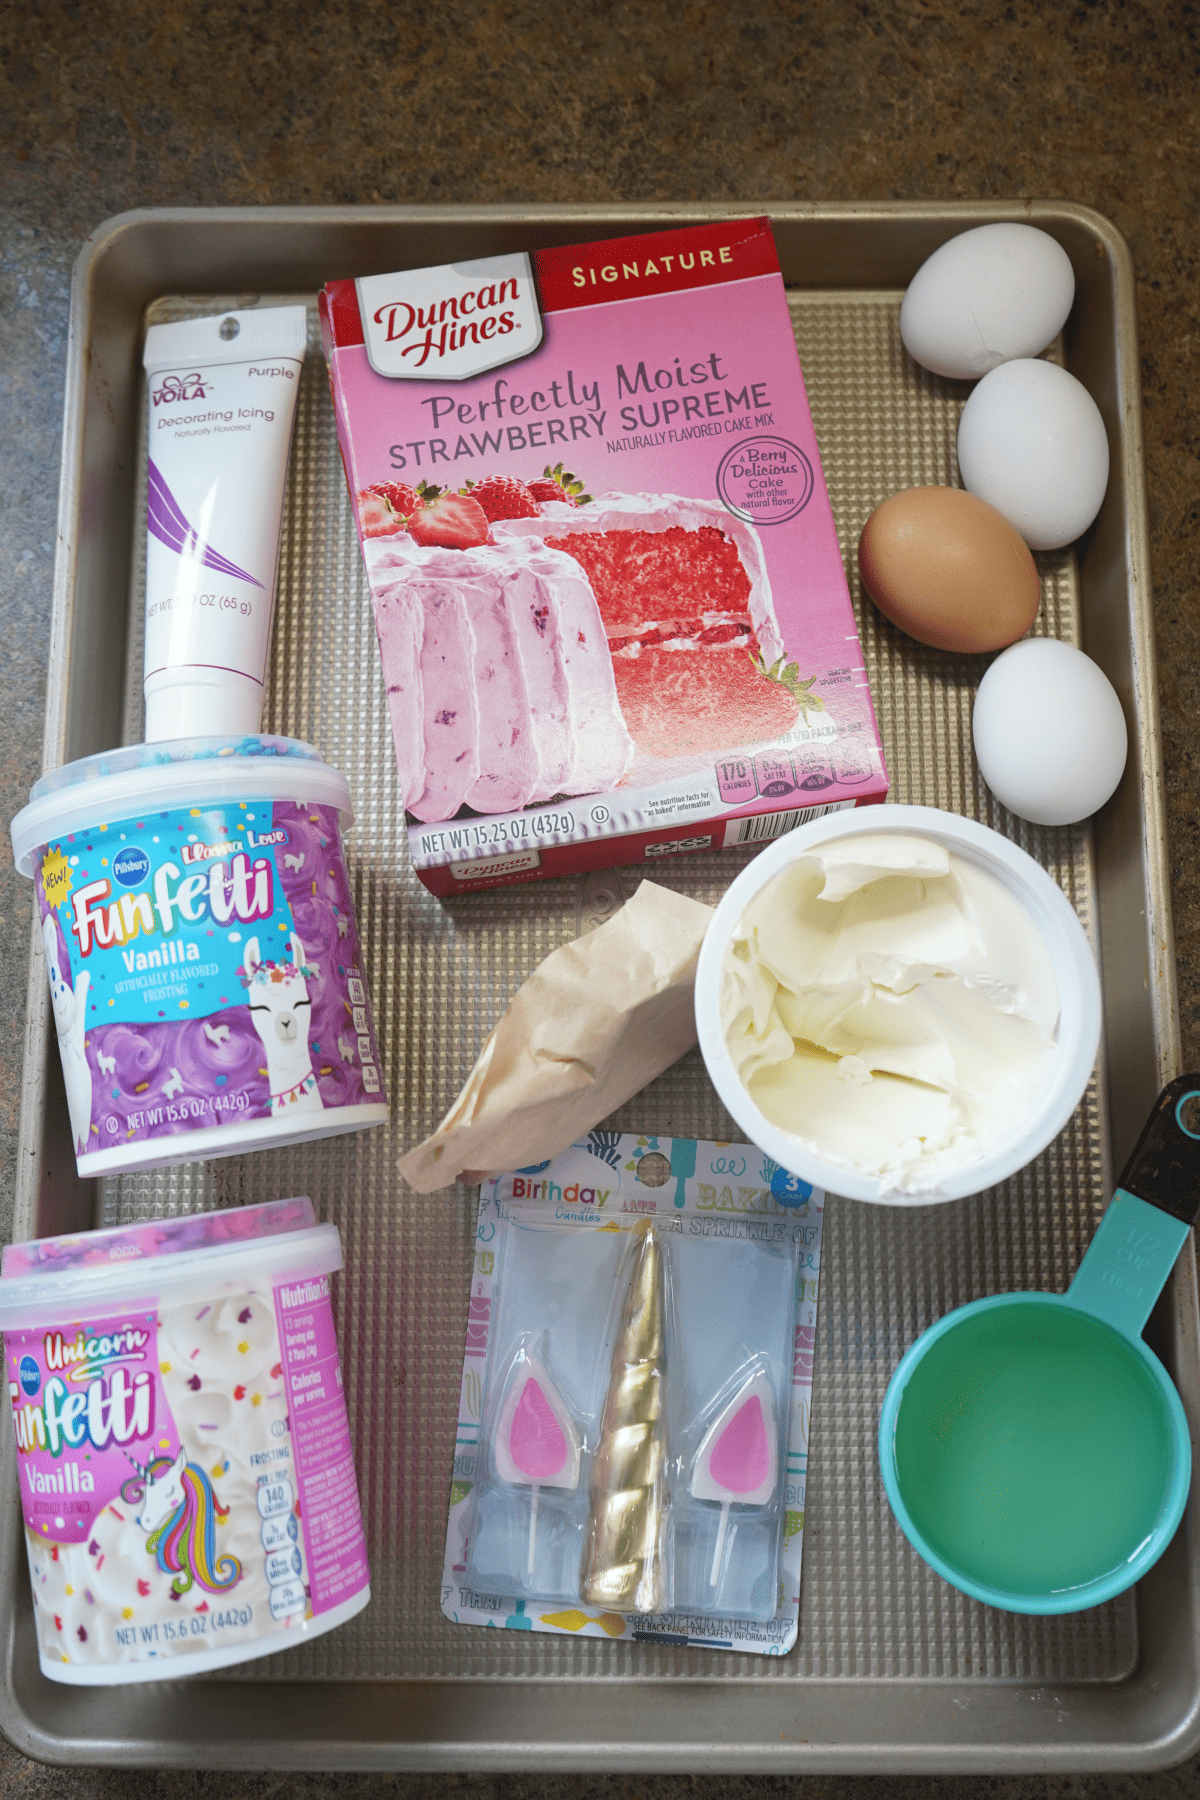
Sofie wanted a strawberry cake so I grabbed a box mix. You can make this cake whatever flavor you desire. And actually I lucked out with the frostings I found. The Funfetti flavors usually are pretty colorful, and included sprinkles. If you have regular frosting you will need some food colorings of choice to decorate the horn/hair/eyes.
What you need to make this Easy Unicorn Cake Design
- Cake Pans ( I Used 1 round and 1 loaf pan but 2 rounds would work (I just don’t have two lol)
- Knife
- Offset Spatula or regular Spatula
- Piping bag or Zip-lock bag
- Cake Mix (plus ingredients to make the cake, and I added pudding)
- Canned frosting ( I added cream cheese)
- Decorating Icing
How to make this Simple Unicorn Cake Design
Step 1: Bake the cake
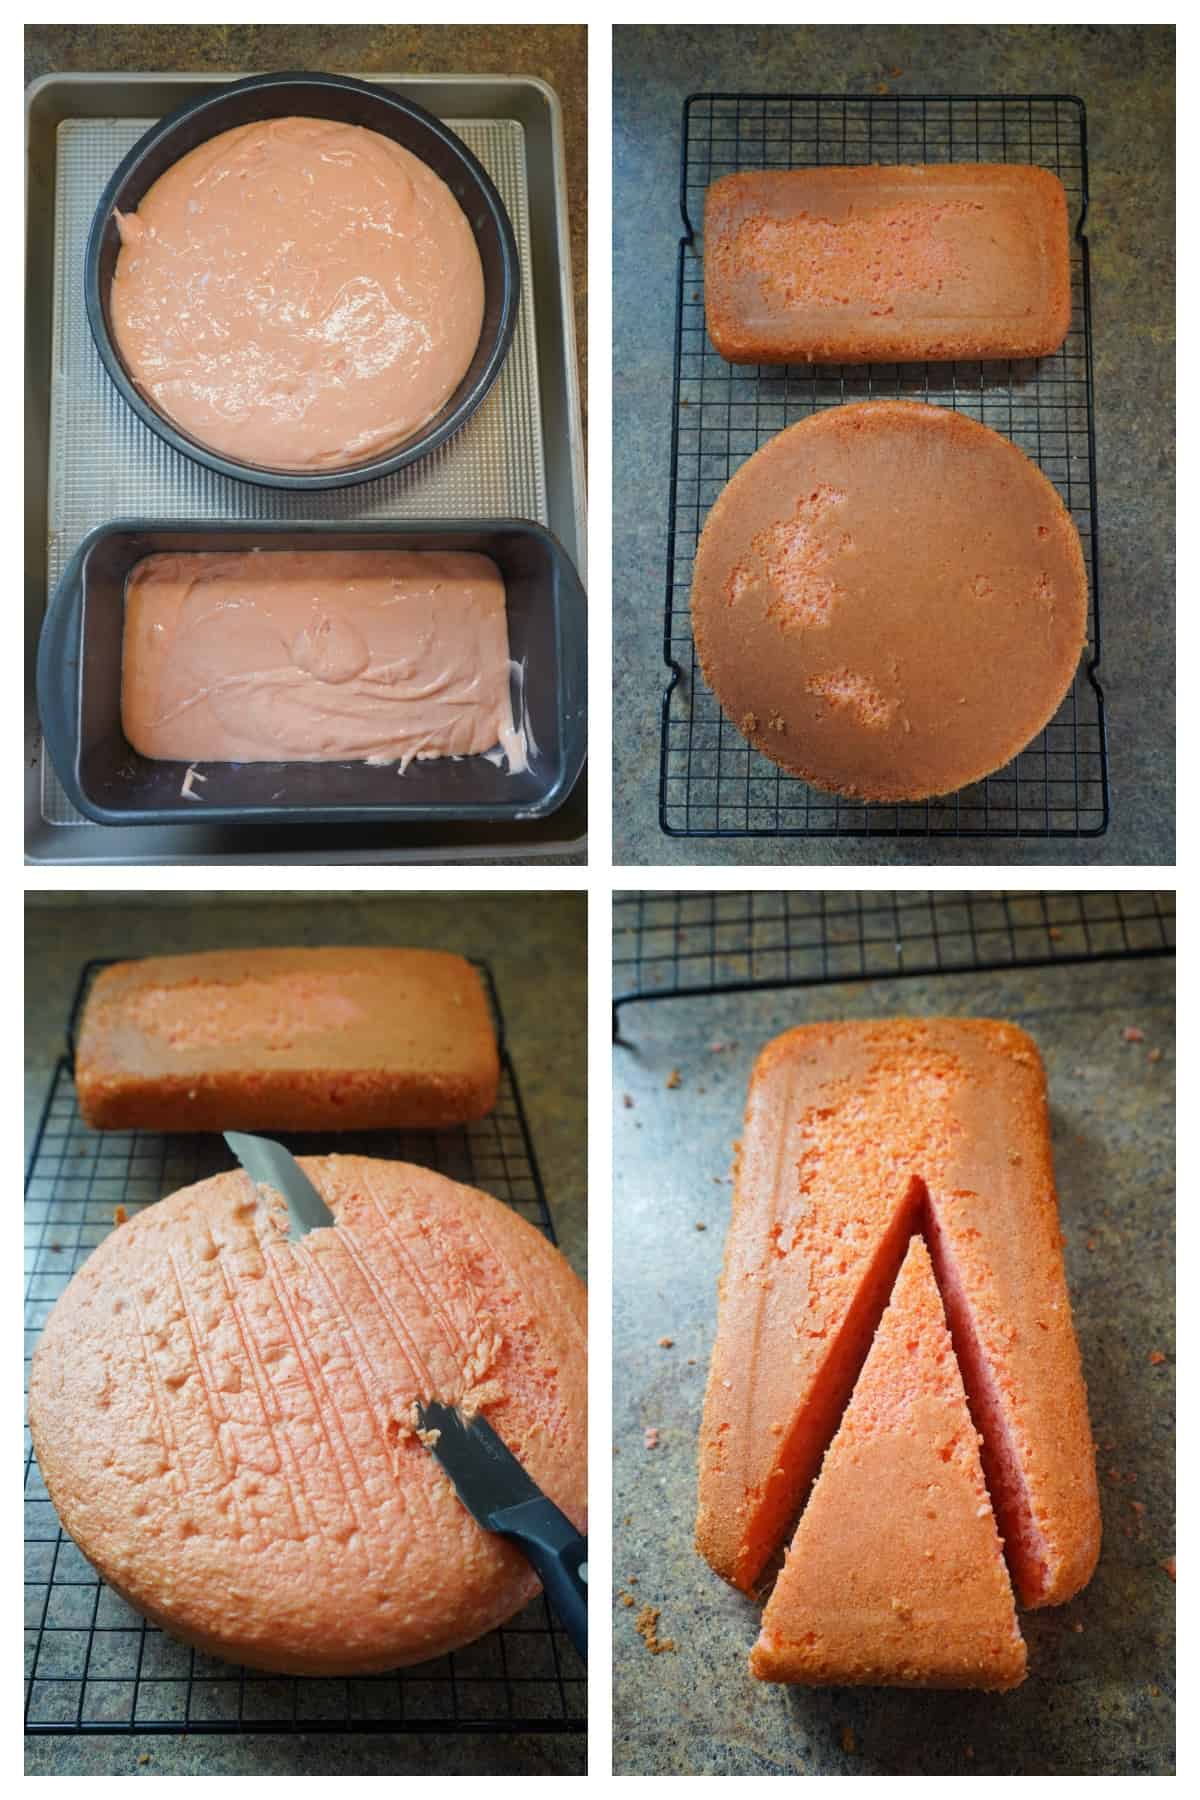
I used cake mix with some added love (add an extra egg and pudding mix). Then pour the batter into your pans. Bake according to the instructions (or watch until cooked through).
Step 2: Form into Unicorn
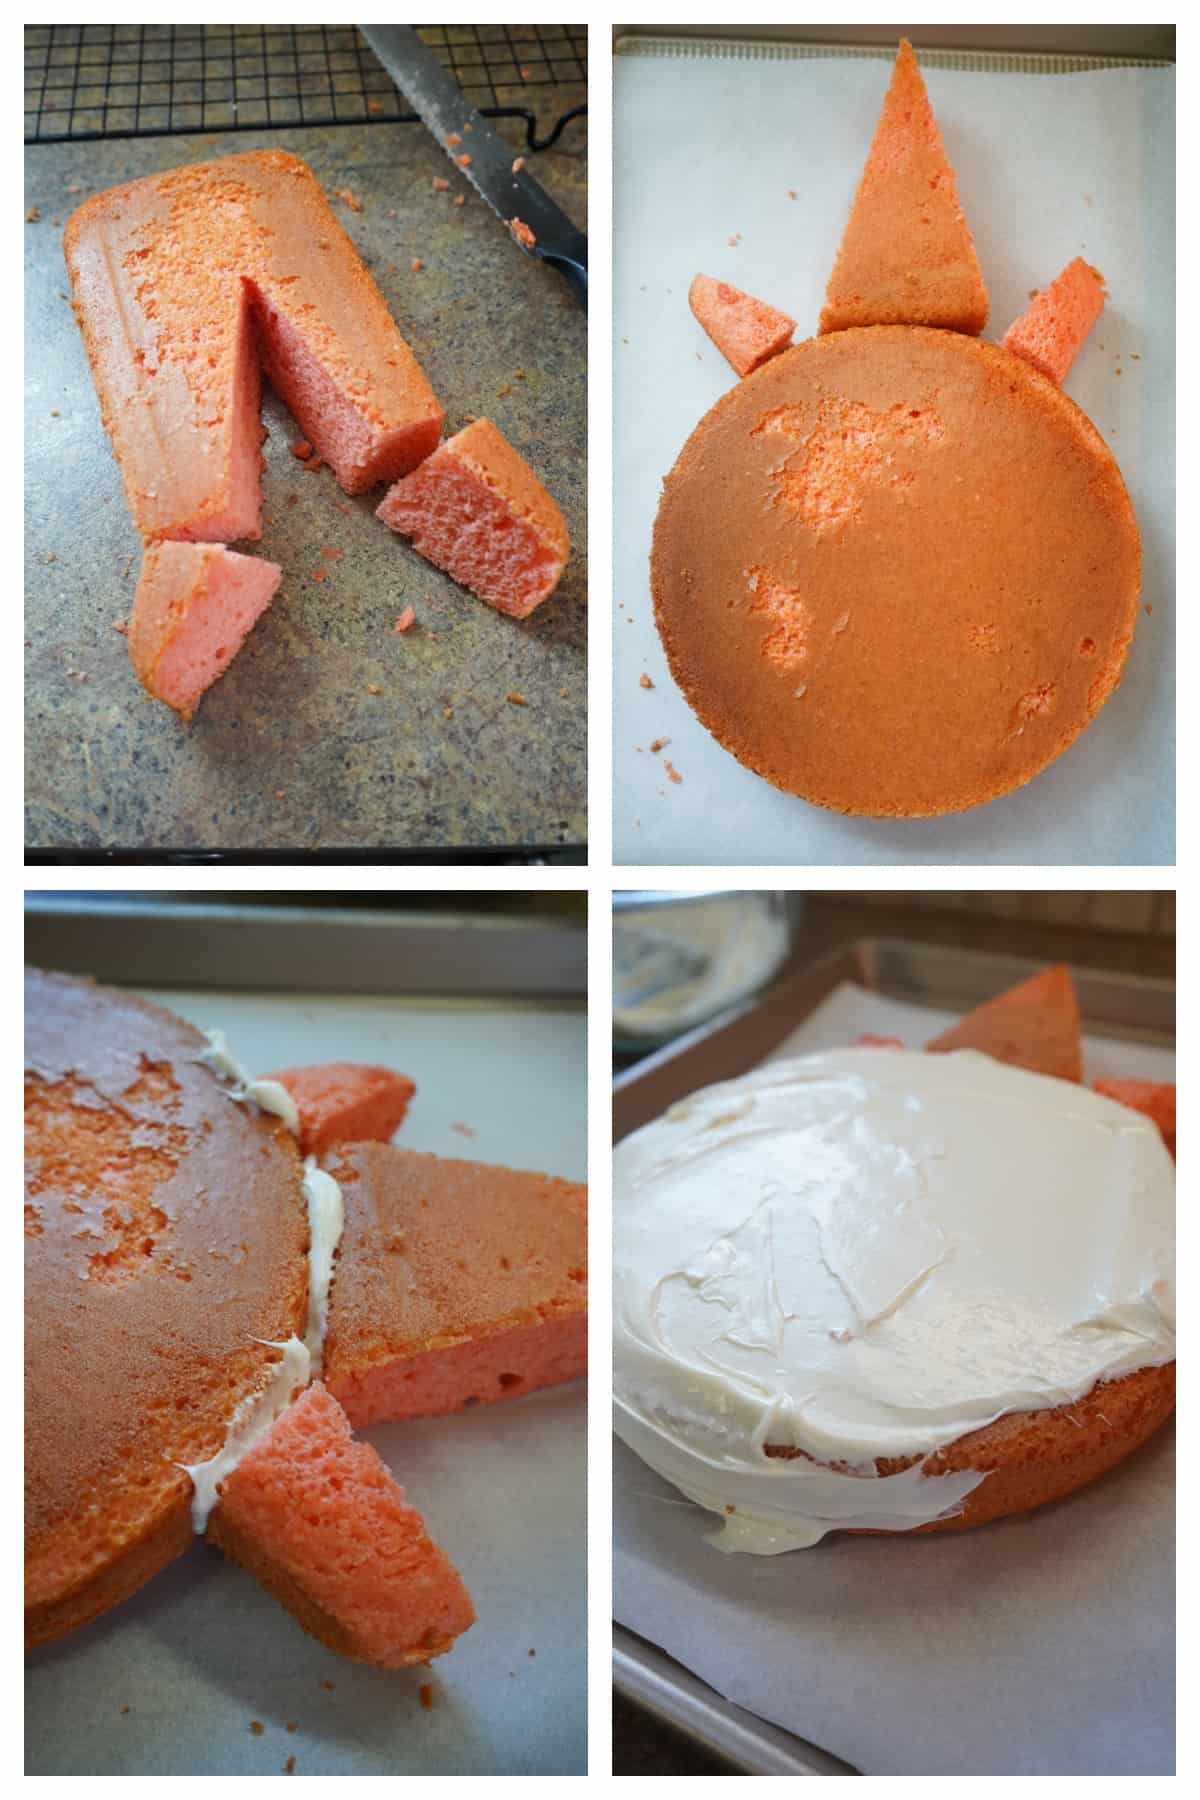
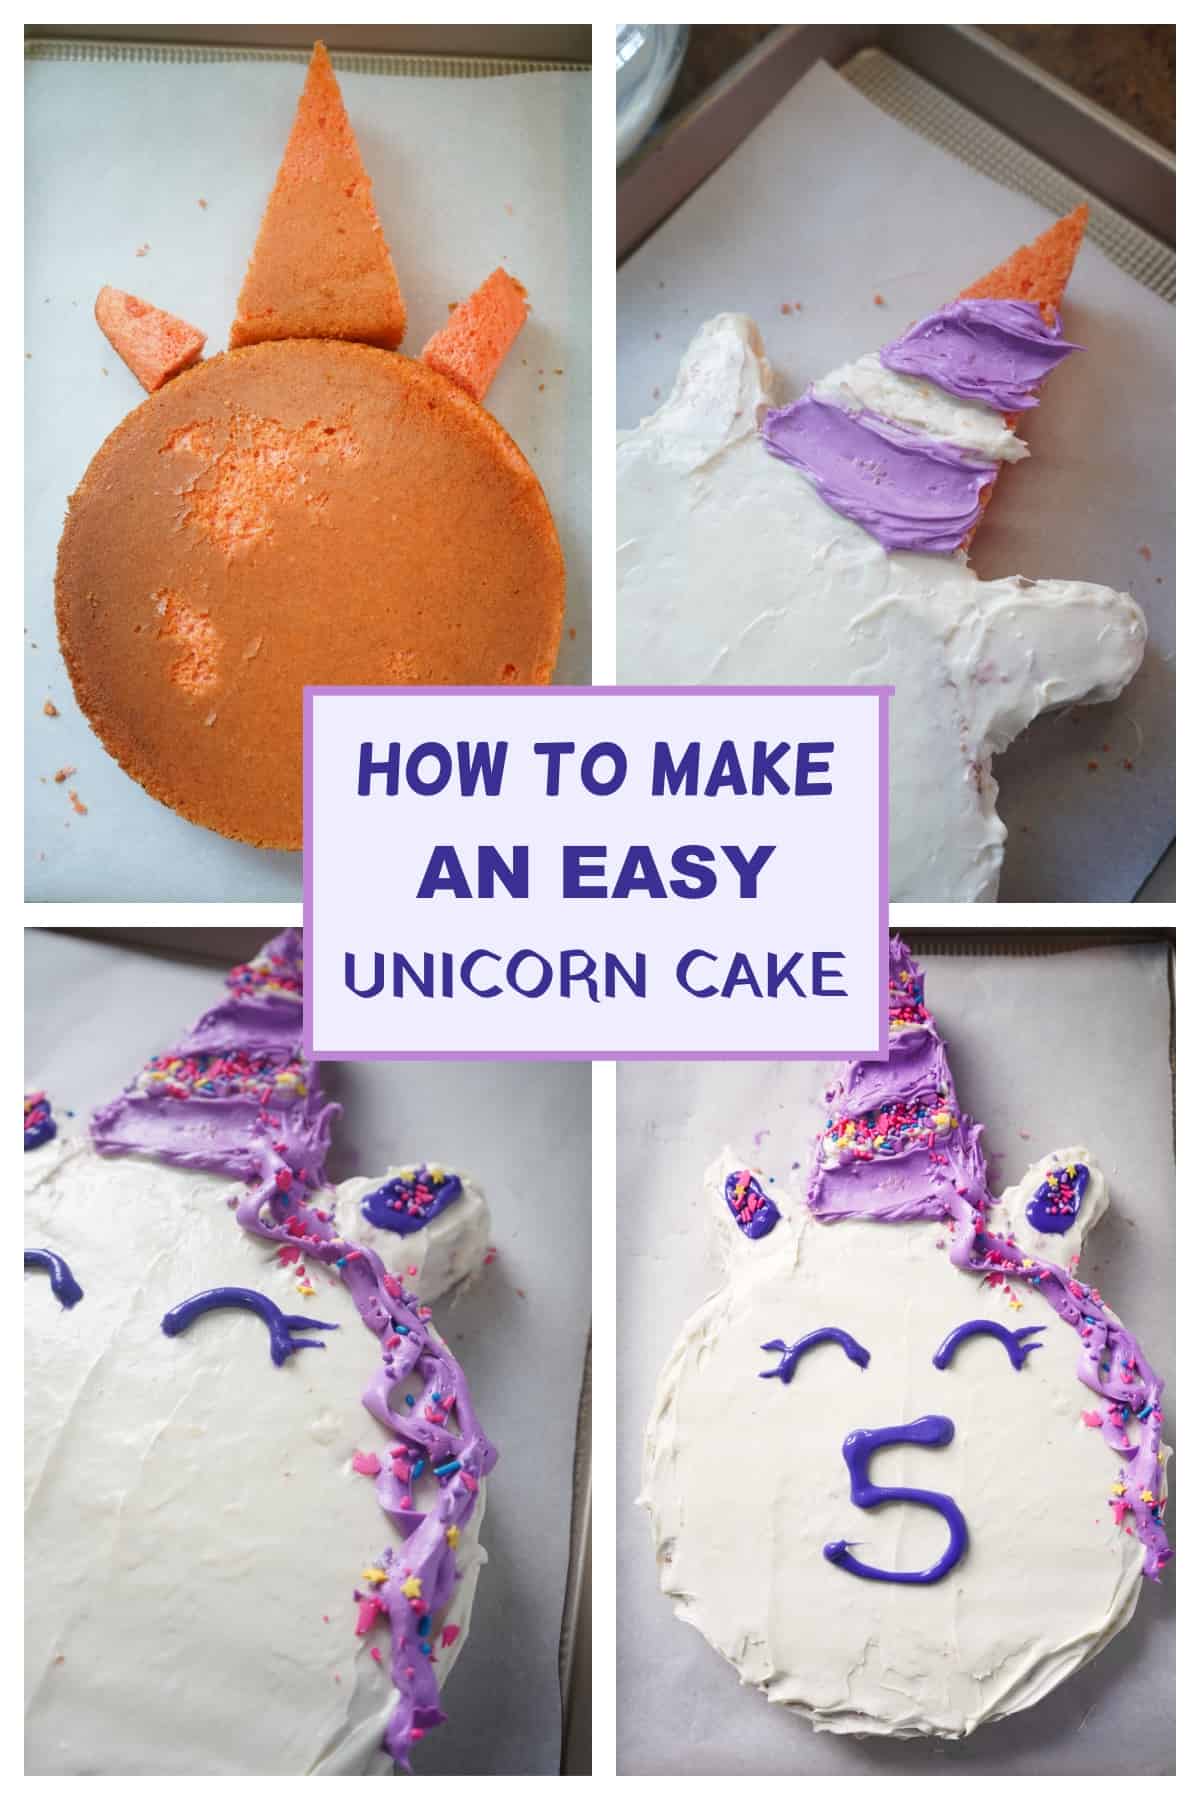
Once the cake is cooled, I trimmed some of the top off so that the cake would lay flat on the sheet pan. Then cut out a horn by cutting a tall triangle. Then I cut two pieces to look like ears.
I placed some parchment paper down and laid the circle (as the head) then put the horn and ears on top. Once I was happy with my design, I attached the pieces with frosting.
Step 3: Frost
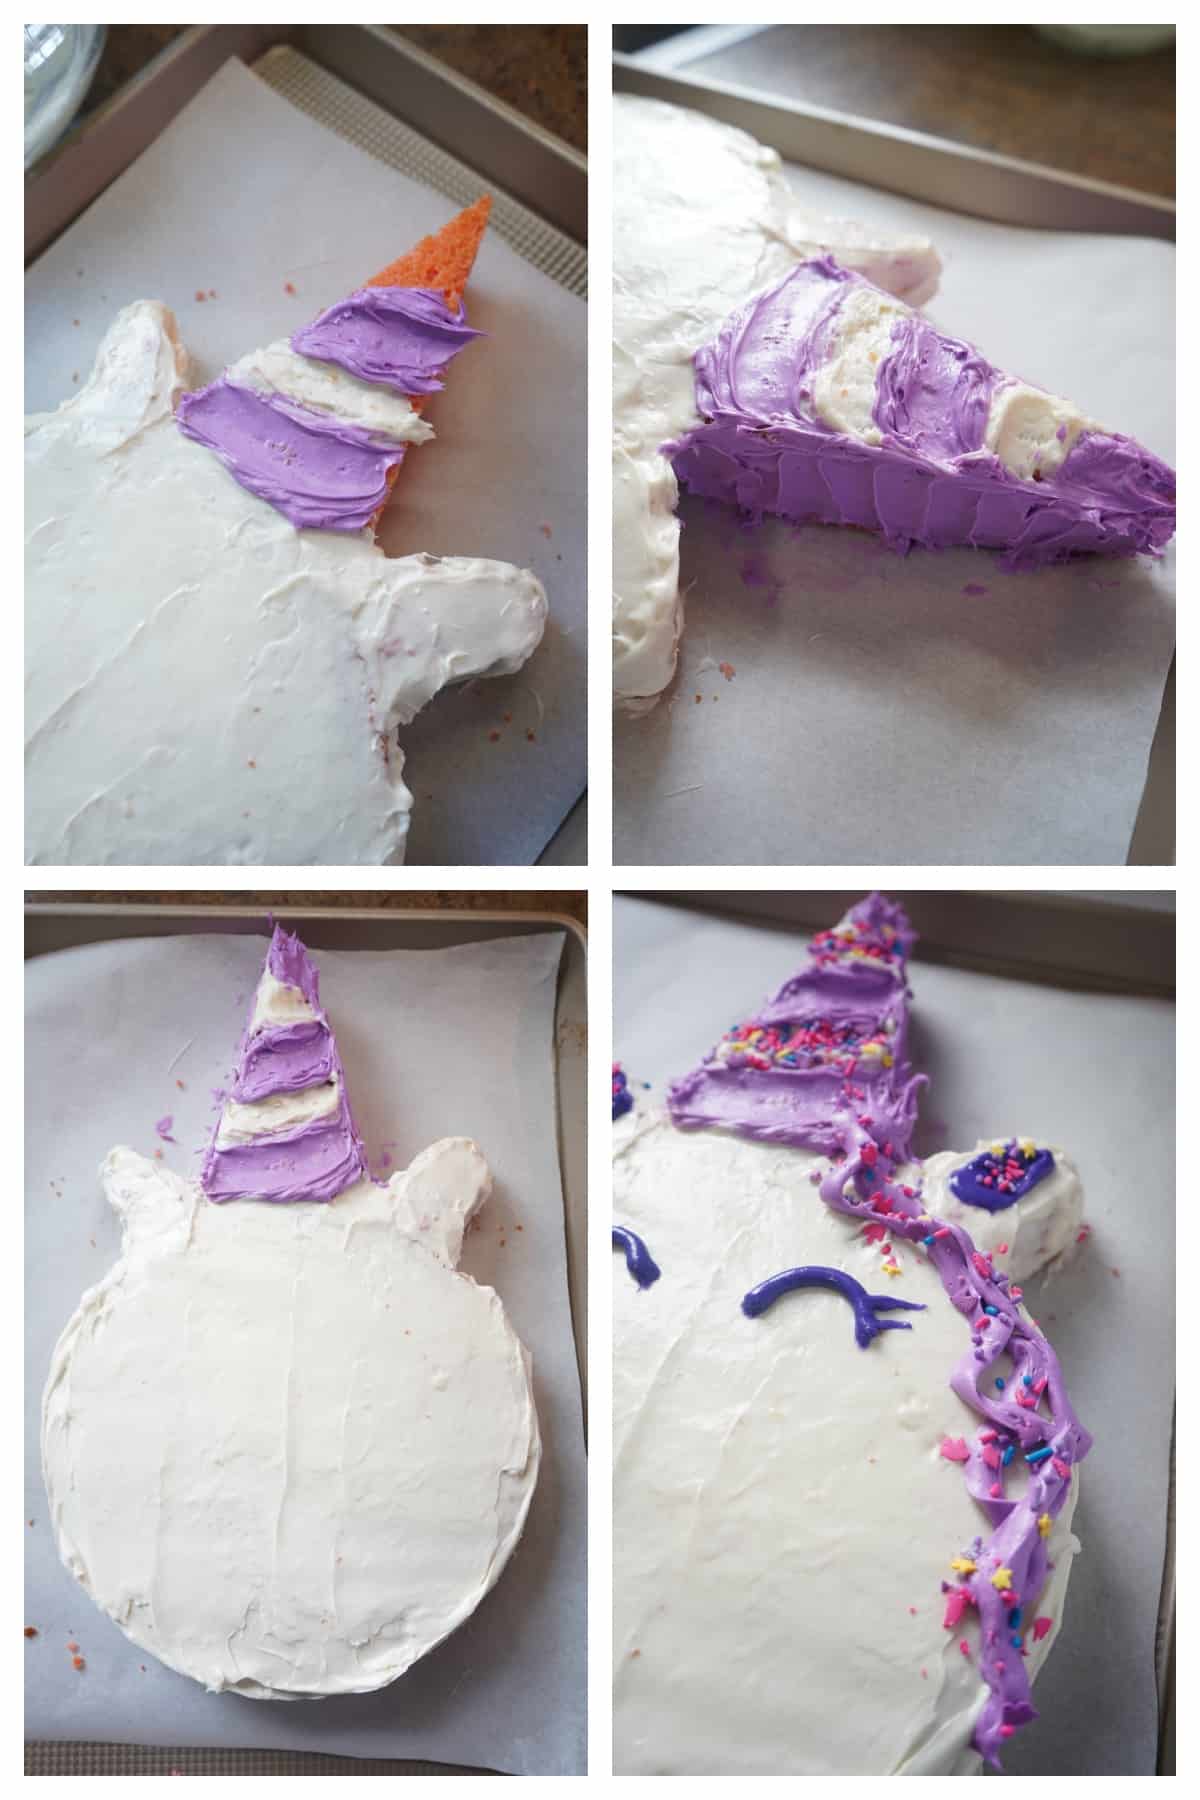
I used my offset spatula to frost the head and ears with the white or vanilla frosting. And to make the canned frosting taste better, I always add in some cream cheese. Carefully spread the frosting on the sides and top in order to connect the ears and horn. Then I used the purple frosting to make stripes in the horn alternating with the white. I made the sides of the horn purples, too.
Step 4: Decorate
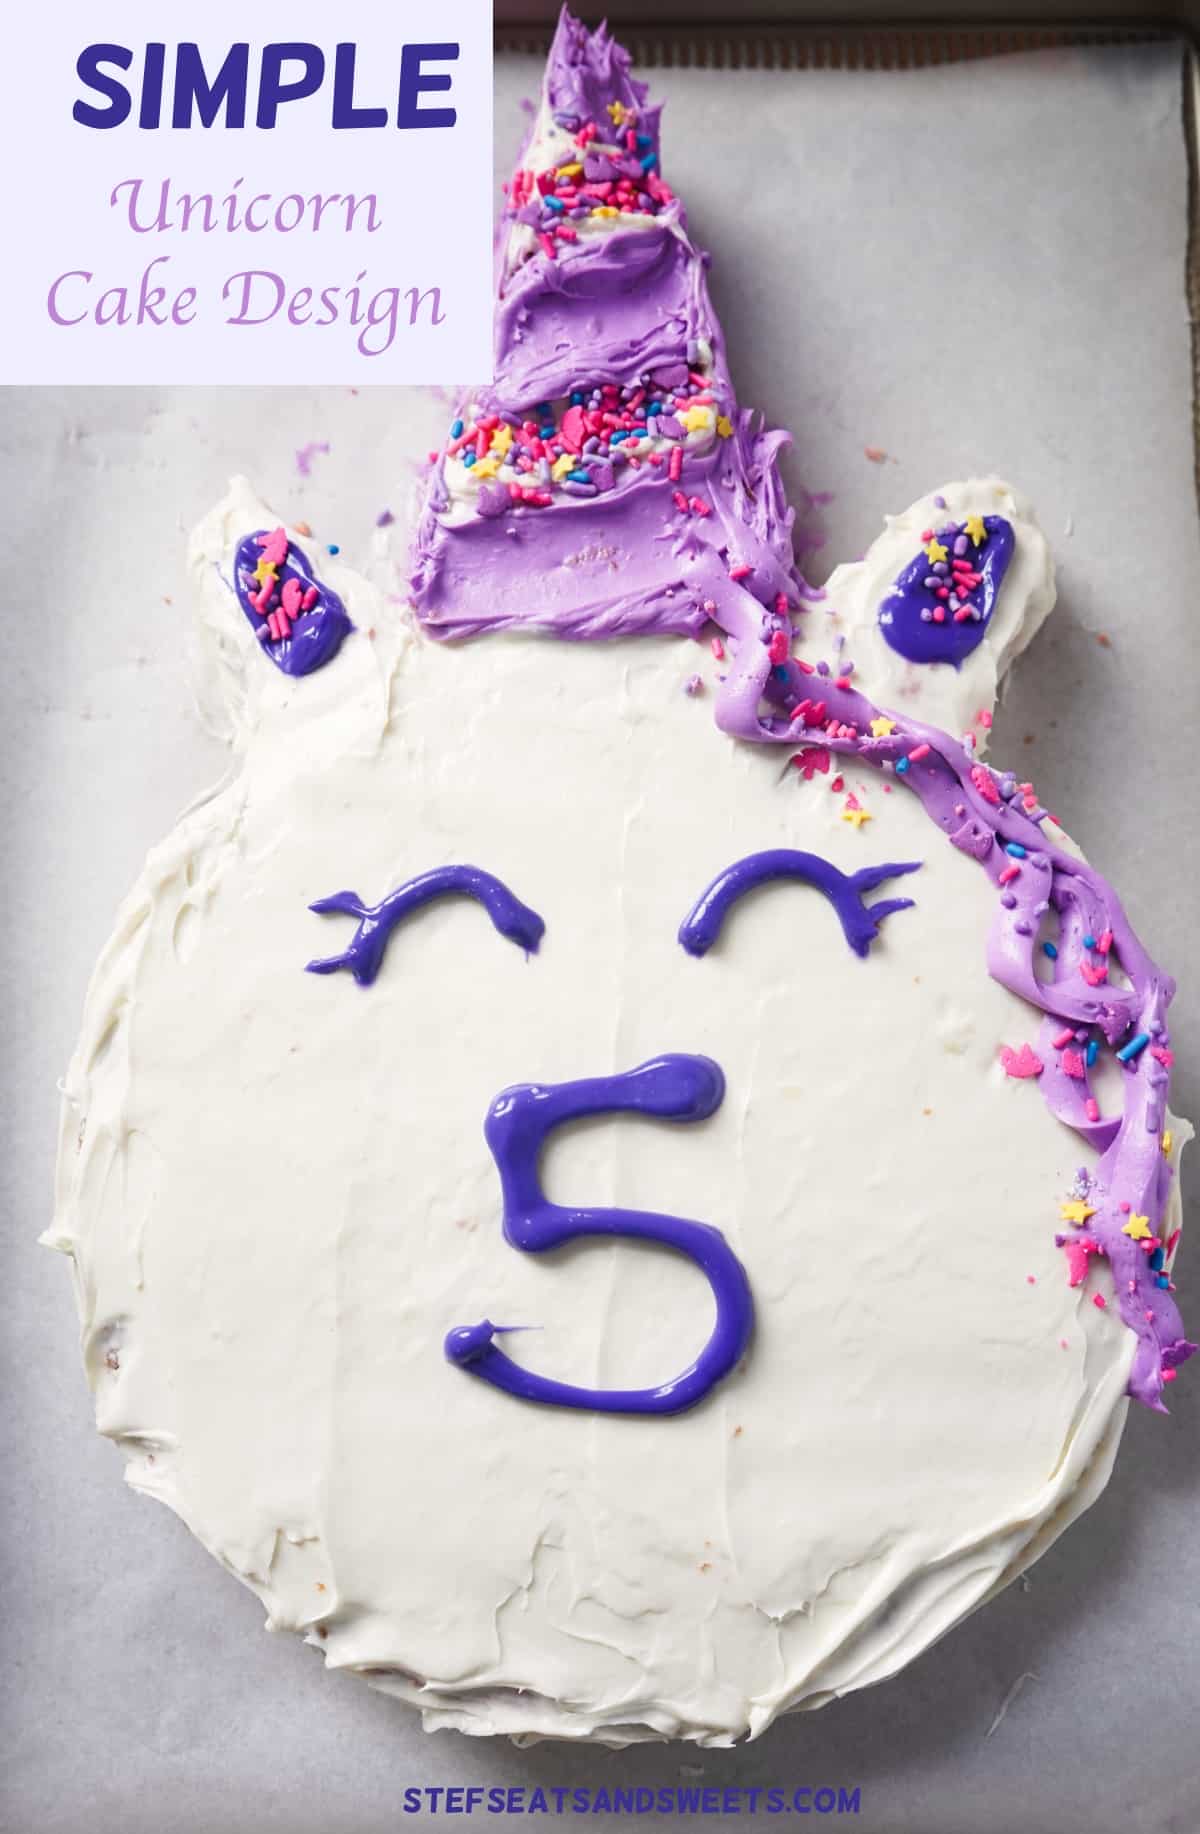
Next I used some deep purple decorating icing to put in the ears and make the eyes and eye lashes. I piped a “5” in the center but you can leave it blank if you would prefer. I decided to try to make the unicorn’s mane along the side by piping the purple frosting down in a squiggly pattern. Then we went to town with the sprinkles.
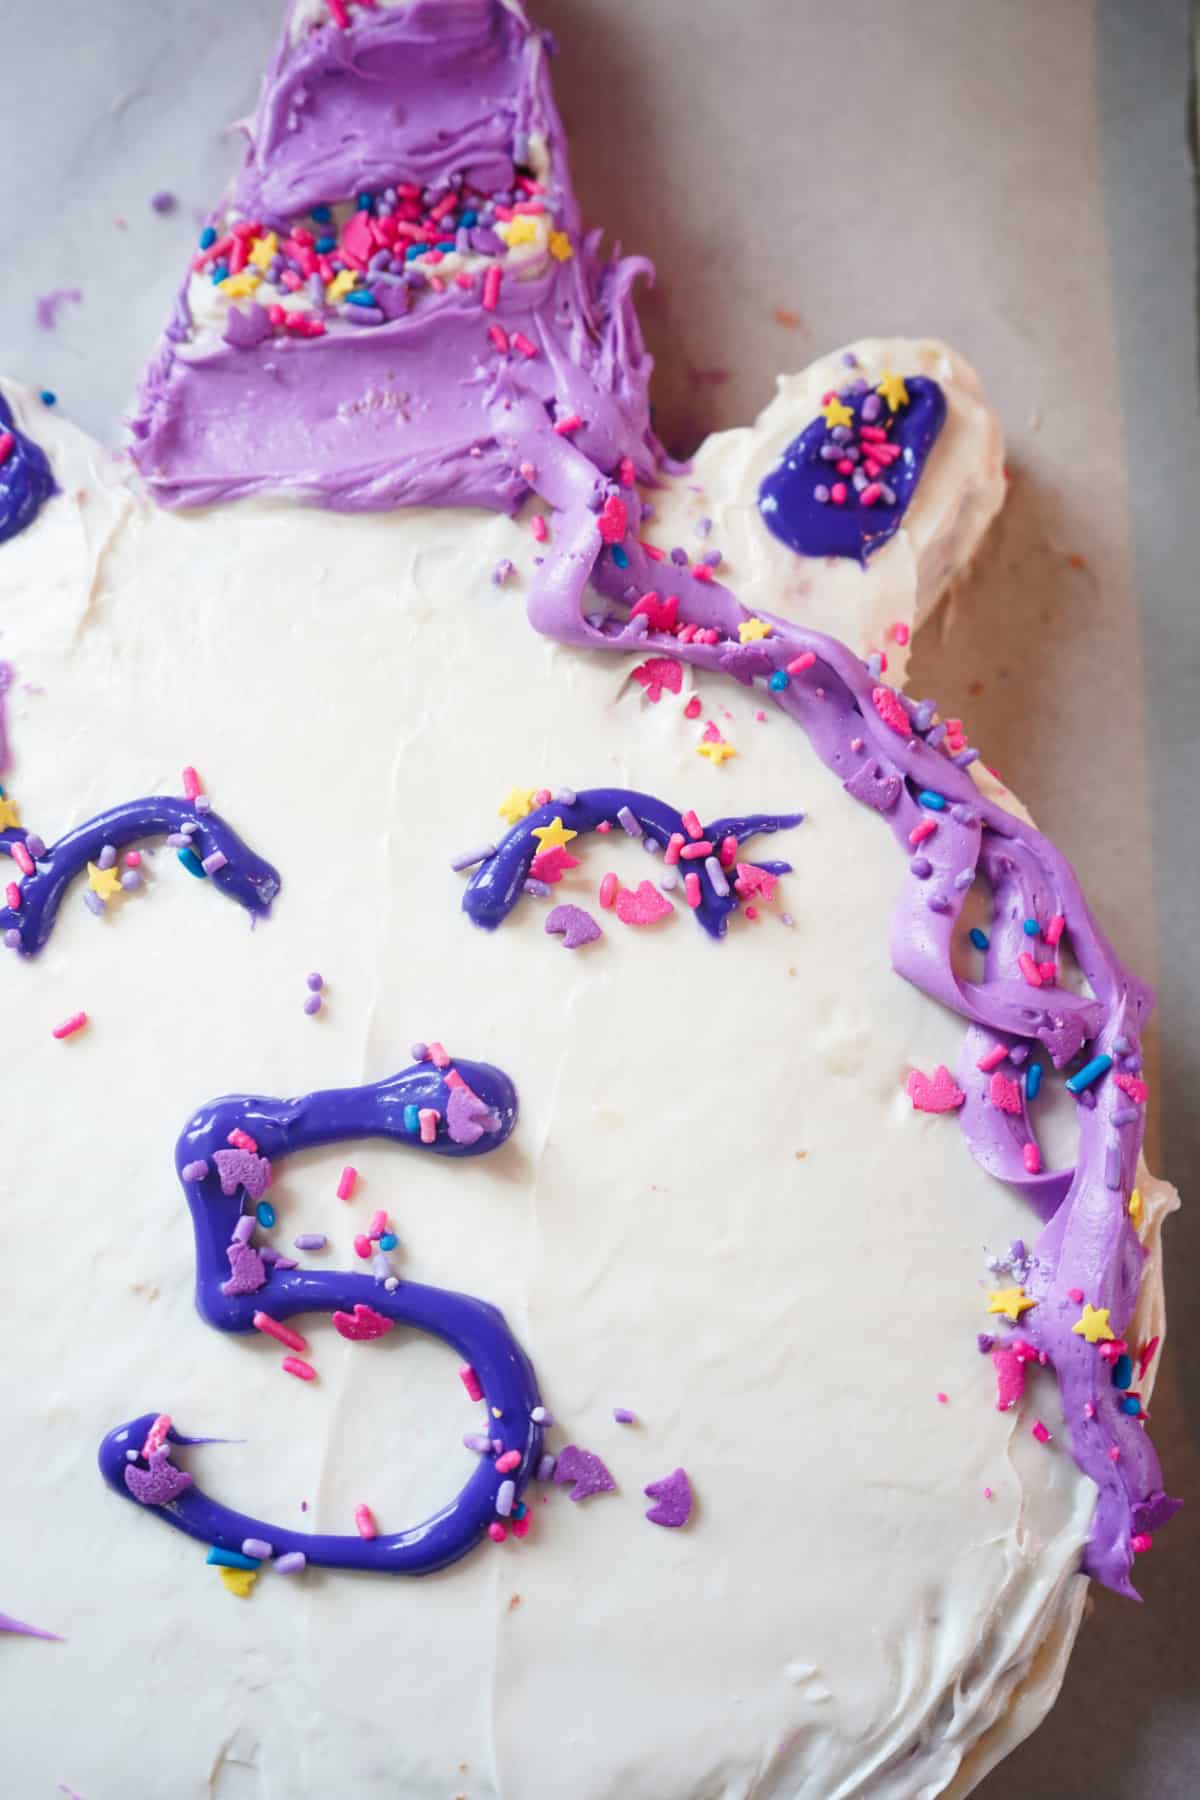
Once ready to enjoy, grab a fun unicorn candle (I found mine at Walmart) and serve it up with some ice cream! I hope you try giving this easy unicorn cake design a try! And stay tuned for my future creations. The smile on her face was worth it all 🙂
Other Birthday Related Ideas:
Make sure to PIN IT!
Simple Unicorn Cake Design
Equipment
- Cake pans
- Knife
- Piping Bag or Zip-lock bag
- Spatula
Materials
- 1 box cake mix made according to box
- pudding mix & extra egg for more of a homemade taste
- 2 cans frosting (colors/flavor of choice)
- cream cheese makes frosting taste more homemade
- Decorating icing
- Sprinkles
Instructions
- Make the cake mix you are using according to the box. I like to add an extra egg and pudding mix for a more homemade taste. Then pour the batter into your pans. Bake according to the instructions (or watch until cooked through).
- Once the cake is cooled, I trimmed some of the top off so that the cake would lay flat on the sheet pan. Then cut out a horn by cutting a tall triangle. Then cut two pieces to look like ears.
- Place some parchment paper down and lay the circle (as the head) then put the horn and ears on top. Once you are happy with your design, attach the pieces with some of the frosting.
- Use a spatula to frost the head, horn, and ears with the white frosting. Carefully spread the frosting on the sides and top in order to connect the ears and horn.
- Then use the purple frosting (or color of choice) to make stripes in the horn alternating with the white.
- Next use some decorating icing to put inside the ears and make the eyes and eye lashes. I piped a "5" in the center but you can leave it blank if you would prefer.
- If you want to make a mane, add some purple frosting to a piping bag and pipe it along the side of the face. Then add sprinkles wherever you would like.
- Serve and enjoy!

 Savory Beef & Stout Irish Pot Pie
 Super Easy Ground Pork Ramen