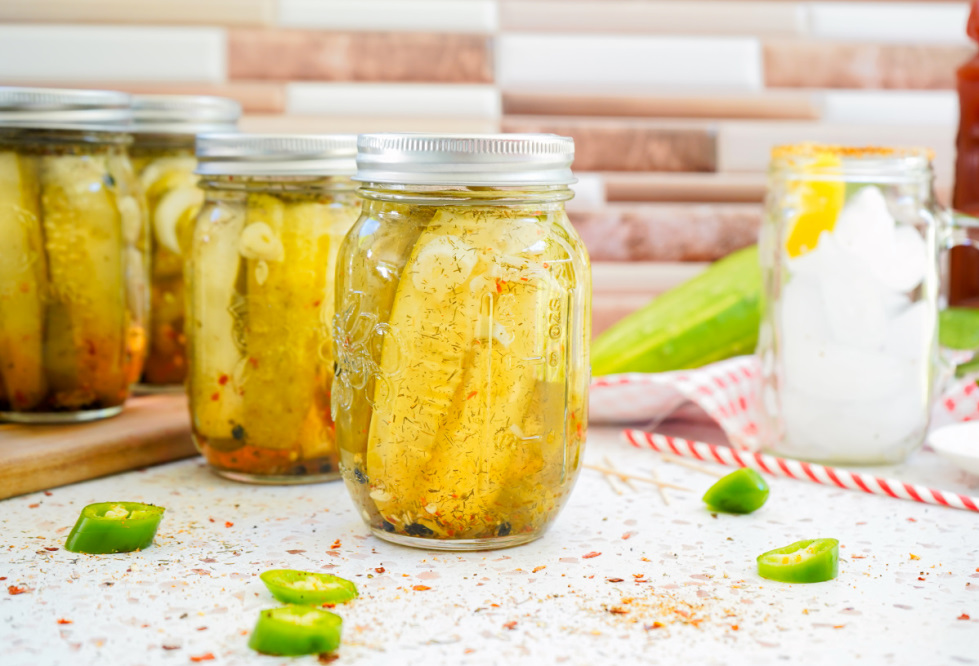
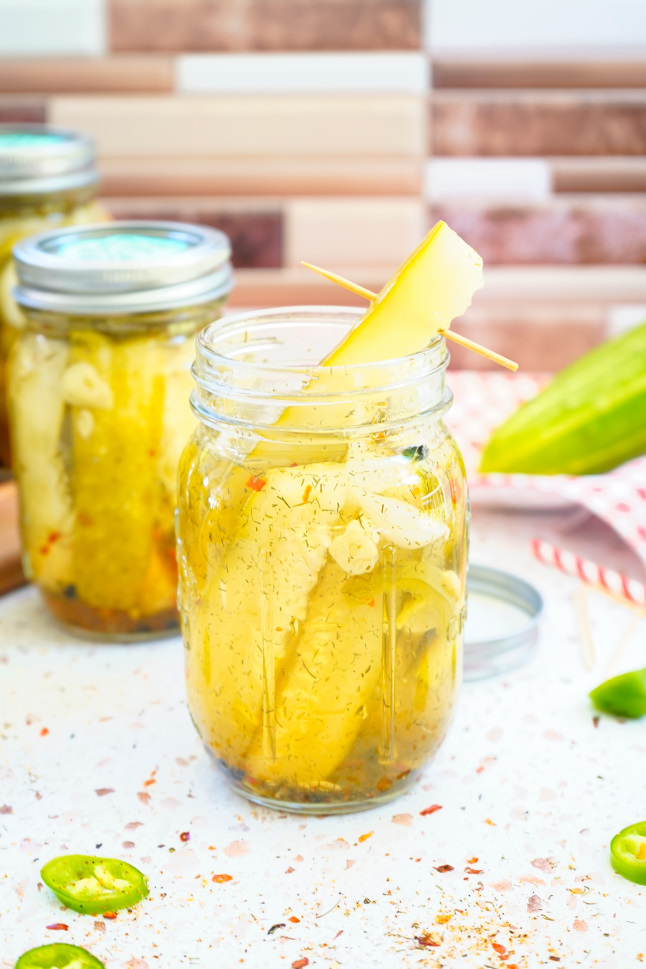
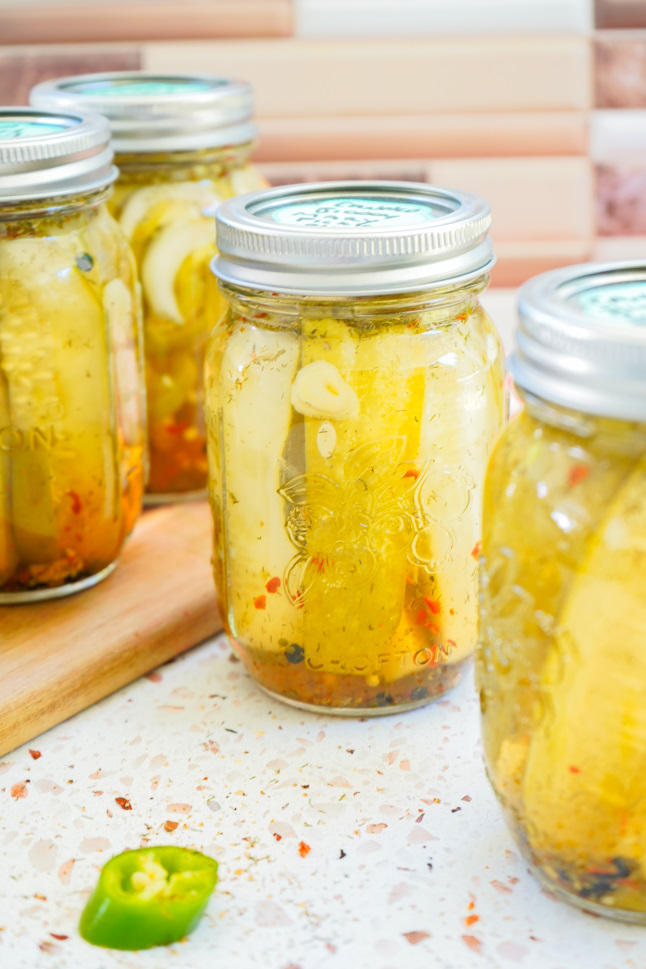
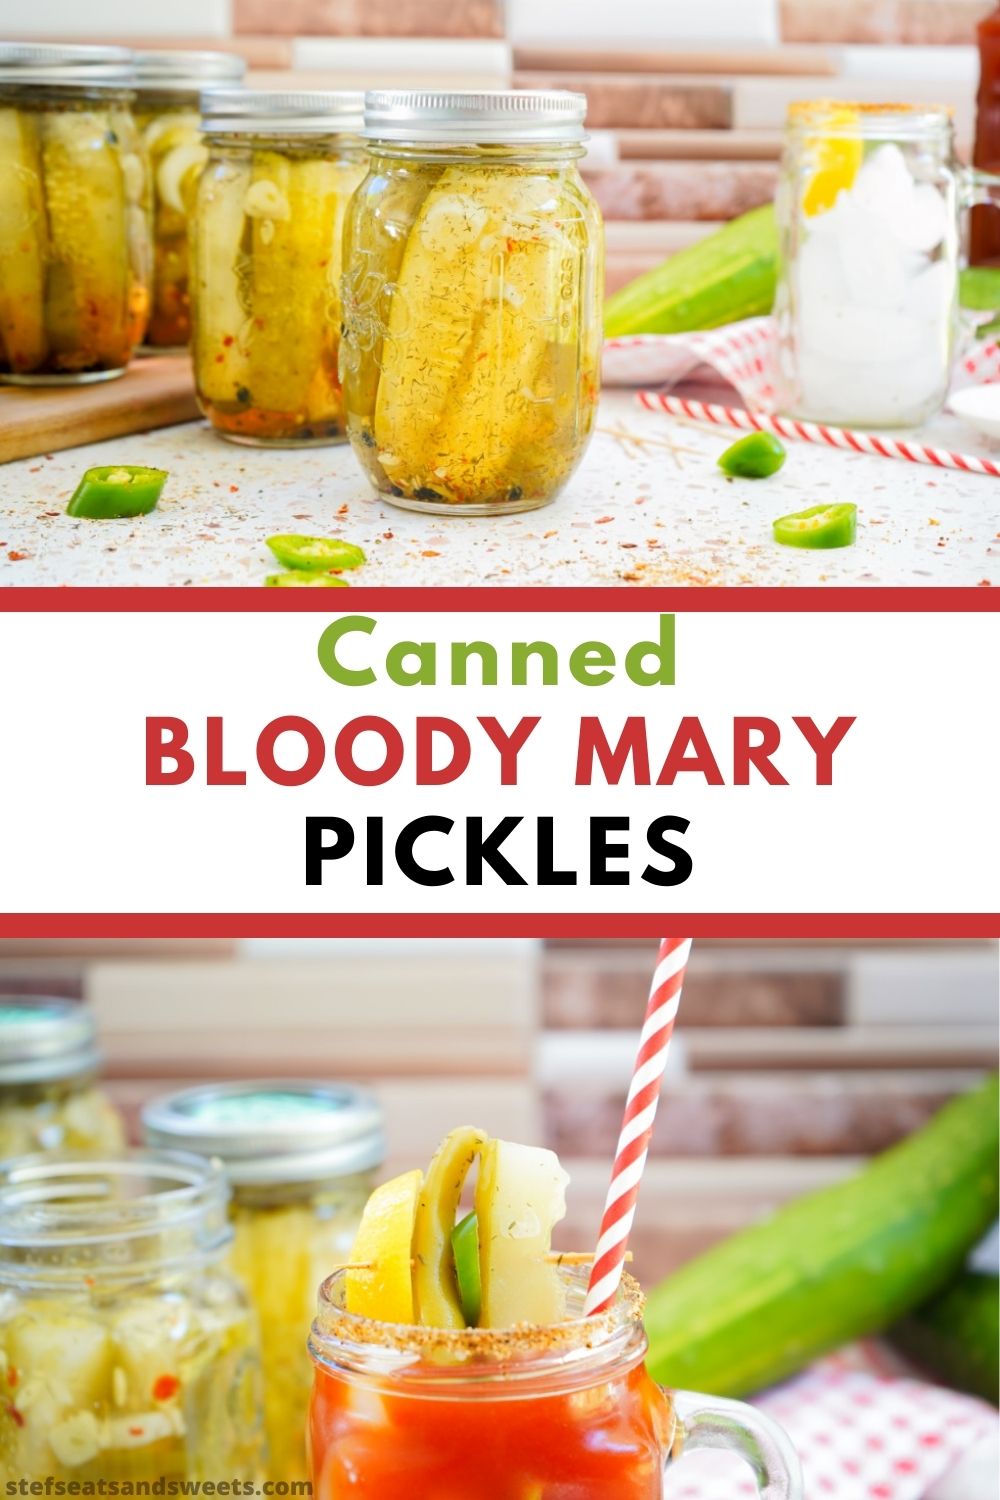
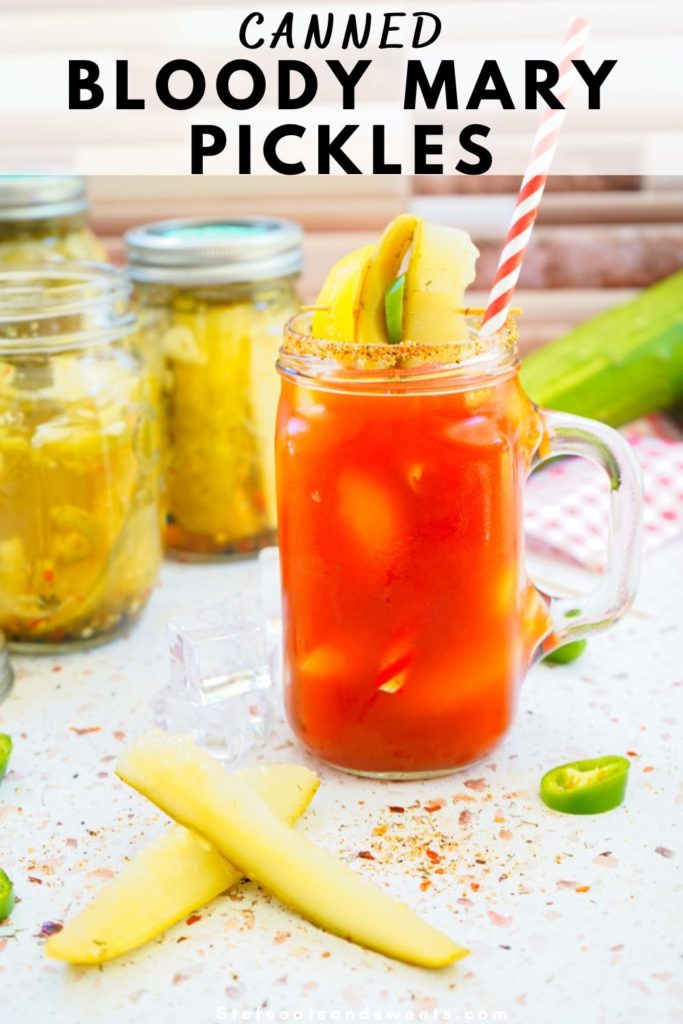
As Summer comes to an end the garden is finally producing plentiful veggies and I like to pick one thing a year to can to preserve. This year I decided to make these Canned Bloody Mary Pickles. Making use of cucumbers, jalapenos, and green beans. These pickles and vegetables have some heat to them, so what better way to enjoy them then in a Bloody Mary Cocktail??
When we go camping in the Summer, our families tend to enjoy a Bloody Mary here or there to start the day…. and we always garnish with a pickle and look forward to eating it at the end of the drink. So I am excited to hand these out as Christmas gifts for my fellow Bloody Mary lovers.
What we love about these Canned Bloody Mary Pickles
- Utilizes fresh cucumbers and peppers rom the garden
- Customizable
- Flavorful
- Great to give as gifts
- Perfect for Bloody Mary Lovers
- Great to snack on
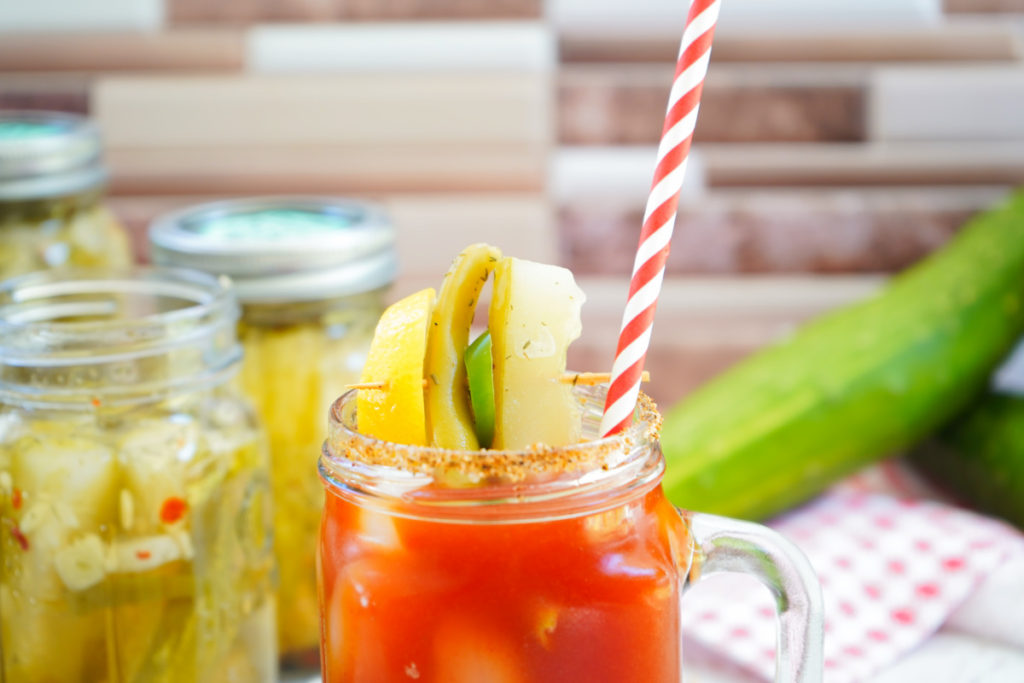
What you need to make homemade pickles
- Canning Pot
- Jars with lids and seals
- Jar lifter or tongs
- Pickling Salt or regular
- Seasonings
- Vinegar
- Fresh cucumbers, garlic, vegetables
How to can pickles and other vegetables?
Canning is actually easier than you think, it is just the time that it takes time to do it. Really it is about boiling a water and vinegar mix and pouring over the vegetables with seasonings in clean jars.
You do not have to can them if you think you will eat them relatively soon. But I am not a huge pickle person so I like to have these Canned Bloody Mary Pickles when we make a Bloody Mary or the jalapenos in here are good for nachos, etc.
How to make these Canned Bloody Mary Pickles
First get your canning pot ready with hot water (cover) and set it to high to start the simmering process.
Next slice up the cucumbers, peppers, and garlic (you can add sliced onions if you want, too). Then in a small bowl combine the seasonings. Whisk until well combined.
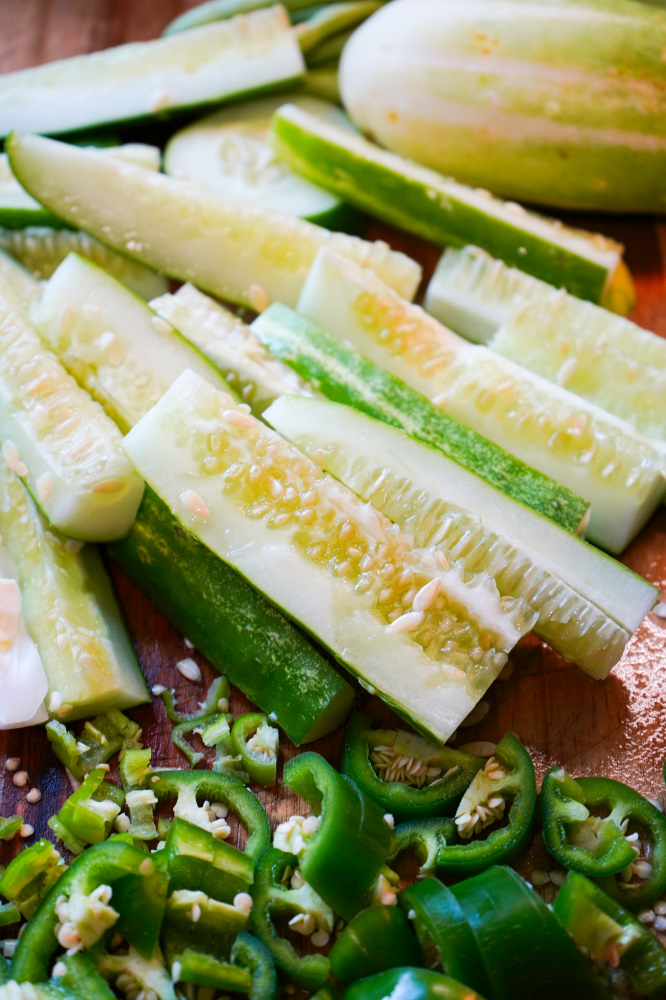
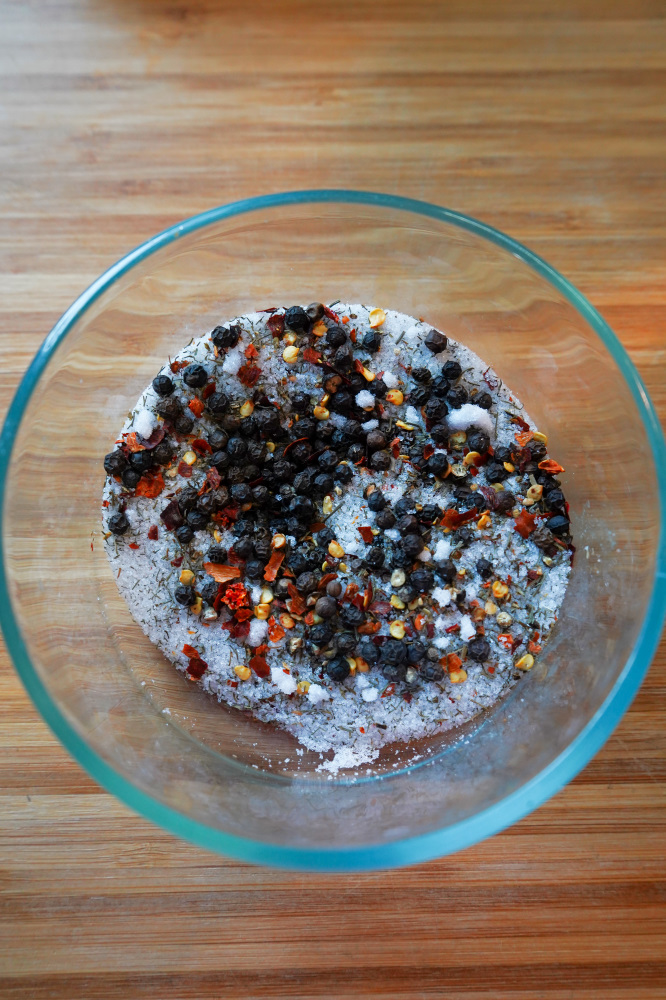
Then evenly distribute the seasonings into the jars. Next add in the garlic and peppers. Stuff with the cucumber slices and beans.
In a medium pot bring water and vinegar to a boil. Carefully pour this hot mixture over the veggies in the jars leaving 1/2 inch head space.
Then wipe the rim clean and carefully place seals and lids on jars. In a water bath: Large pot of simmering water) Submerge jars and process for 10 minutes.
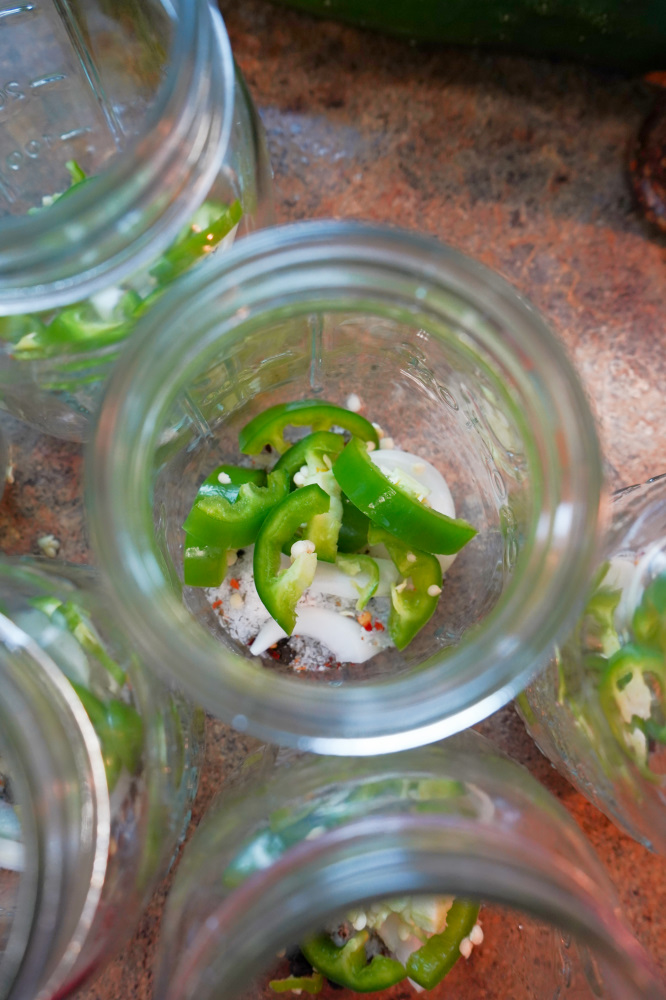
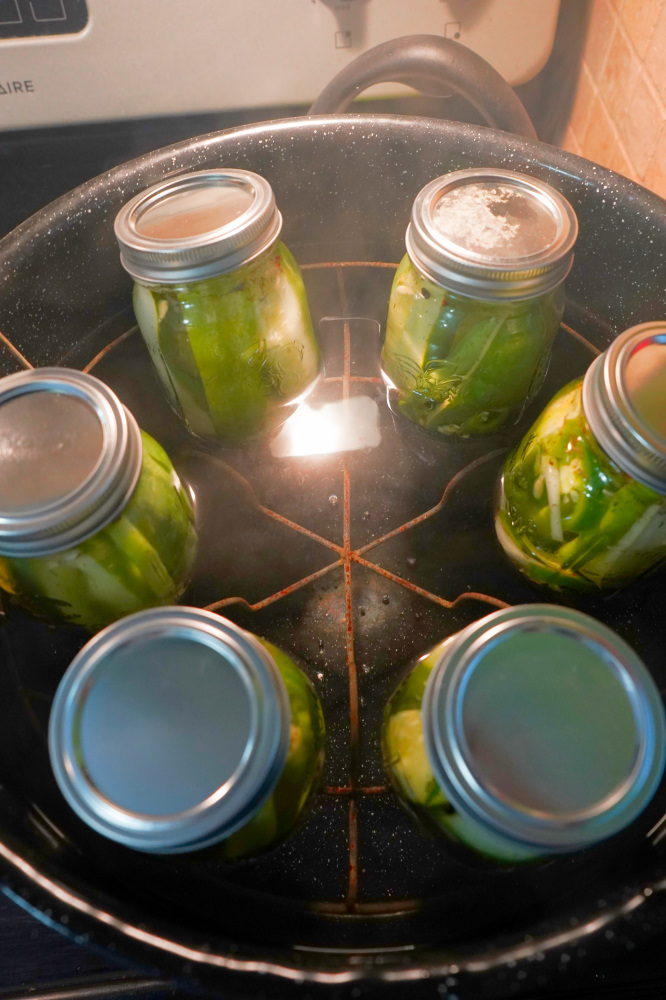
Finally, carefully remove hot jars from water and set on towel and do not move for 24 hours. You will start to hear the lids pop as the they seal.
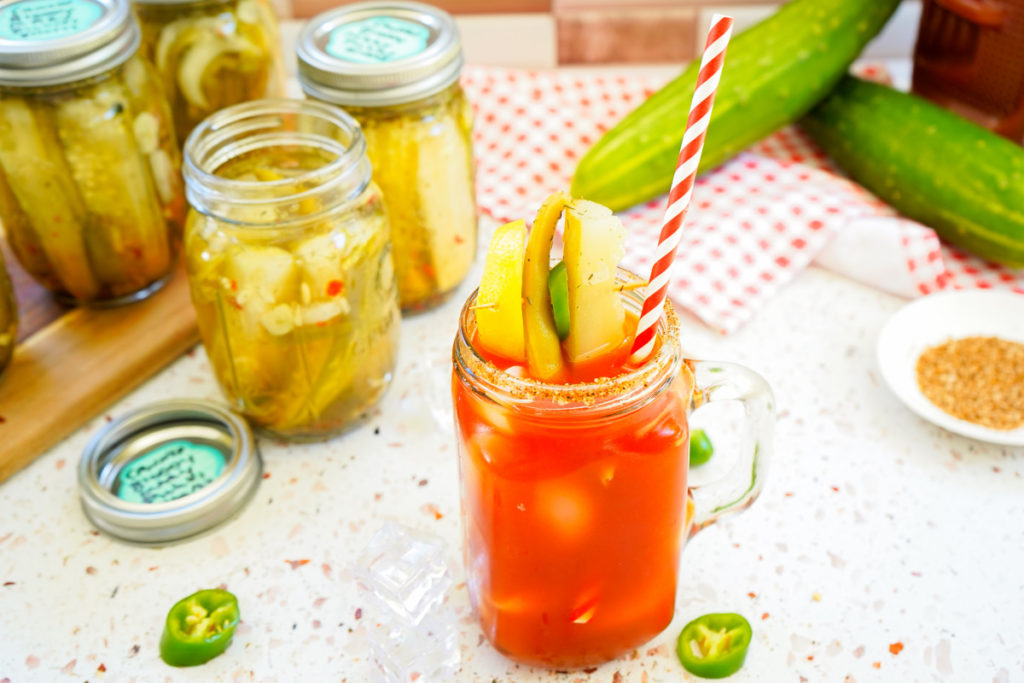
Additions & Substitutions
What is great about these canned Bloody Mary pickles is that you can customize with the things you have in the garden (or what you like to put in your Bloody Mary)
- Have different types of hot peppers? Use what you have.
- If you can handle the heat go for a habanero finally diced!
- The 2nd time I made these I added sliced onions.
- I used Green Beans and then a different variety the second time.
Like this recipe? Make sure to check out my:
Make sure to PIN IT!
Follow along!
Canned Bloody Mary Pickles
Equipment
- canning jars, lids, and seals
- Canning pot
- tongs or jar lifter
Materials
- 1 tsp red pepper flakes
- 2 tsp dill
- 2 tsp pepper corns
- 3 cups water
- 3 cups vinegar
- 3 tbsp pickling salt or 2 tbsp. regular salt
- 3 jalapenos
- 2-3 small banana peppers or other peppers of choice
- 4 5 in. cucumbers or 3 large
- 6 oz. green beans optional (or similar)
- 6 cloves of garlic
- 1 small sweet onion, sliced optional
Instructions
- Wash and sterilize canning jars, lids, and seals (unless they are new)
- Bring water bath in a canning pot or large pot to a boil.
- Wash all veggies.
- Slice the cucumbers lengthwise, slice or chop hot peppers and garlic, (and onions if using).
- Combine all the spices in a small bowl and mix.
- Divide all fresh ingredients and spices into jars evenly.
- In a medium sauce pan bring water and vinegar to a simmer.
- Pour hot liquid over fresh ingredients in the jars leaving 1/2 in head space and wipe the rim of any access liquid with a paper towel.
- Carefully put lids onto jars
- Twist seals onto the lids.
- Carefully place jars onto the rack in the water bath and lower into boiling water.
- Place lid on canning pot and let boil (process for 10 minutes).
- Using tongs or jar lifters, carefully remove the jars from water bath and let cool on a towel for 24 hours.
Notes
PIN IT!
This post was updated August 20, 2022 with new photos and additional notes.

*Stefseatsandsweets is a participant in the Amazon Associates Program. I make a profit on purchases made through the links to Amazon.com at no extra cost to you!
Looking for other fresh vegetable ideas? Check out my Spicy Taco Stuffed Zucchini and Zucchini Banana Bread!
If you give these a try make sure to stop back and let me know how you liked them!


 Zucchini Banana Bread
 Turkey Chorizo Mexican Chili



August 22, 2023 at 2:31 pmDid anyone have problems with a cloudy film at the bottom above the spices?
August 25, 2023 at 1:06 pmHI Jaye! Thanks for reaching out. I think you commented on the Pin on Pinterest and I responded. I did some research and it looks like sometime cloudiness can be caused my tap water minerals, caking agents in some salts, or even just sediment is the cucumbers themselves from the garden. The majority of the articles said its harmless. if you want them clearer for aesthetic purposes, that you can boil your tap water first & always make sure that your canning jars are sterilized too! Hope that helps and they still taste great!
August 29, 2022 at 8:45 am[…] mission to make sure I am using the produce from the garden this year! A couple weeks ago I made my Canned Bloody Mary Pickles, I have been up to my ears in zucchini (larges ones I may add), and am burnt out on zucchini bread […]
August 15, 2022 at 8:45 am[…] growing in the garden this year) so I try to whip of something different with them. Besides my homemade pickles, I love these Italian Style cucumbers. My dad used to make this for us as a side with dinner when I […]
July 28, 2022 at 8:19 amSuch a great Bloody Mary recipe! So refreshing for summer!
July 26, 2022 at 11:51 amcanning was always something I wanted to do but scared. You make it look so easy
July 26, 2022 at 12:34 pmI always felt that way too butnits actaully simple once you try 🙂 thanks!
July 25, 2022 at 8:48 pmbeen wanting to get into canning! this looks so simple and perfect to start!
July 25, 2022 at 9:56 pmPerfect! Let me know if you make them !
May 5, 2022 at 5:25 am[…] Check it here. […]
March 20, 2022 at 12:36 pm[…] Check it here. […]